PC
Looking for the ultimate source of PC gaming news? Our coverage has everything you need to know, from industry trends to game reviews. Stay informed and stay ahead of the game.
Latest Games News
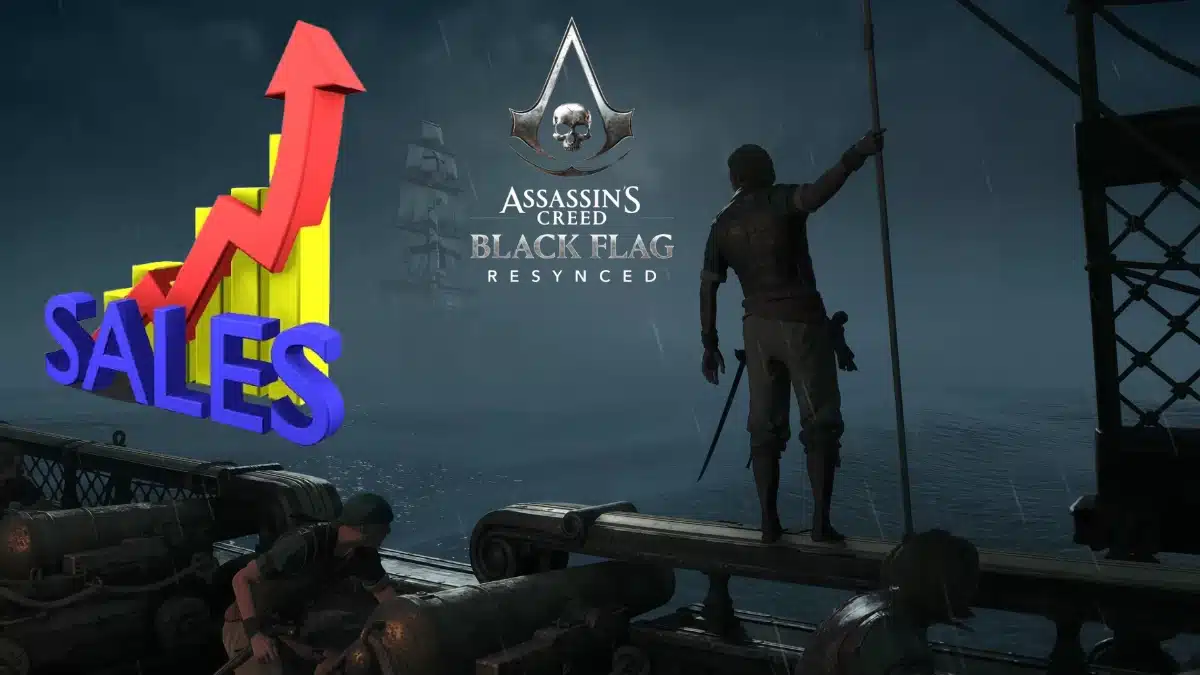
Assassin’s Creed Black Flag Resynced sells 2 million copies in first 24 hours
Assassin's Creed Black Flag Resynced sales just hit 2 million copies in a single day, putting it among the fastest launches in franchise history.
Latest Games News
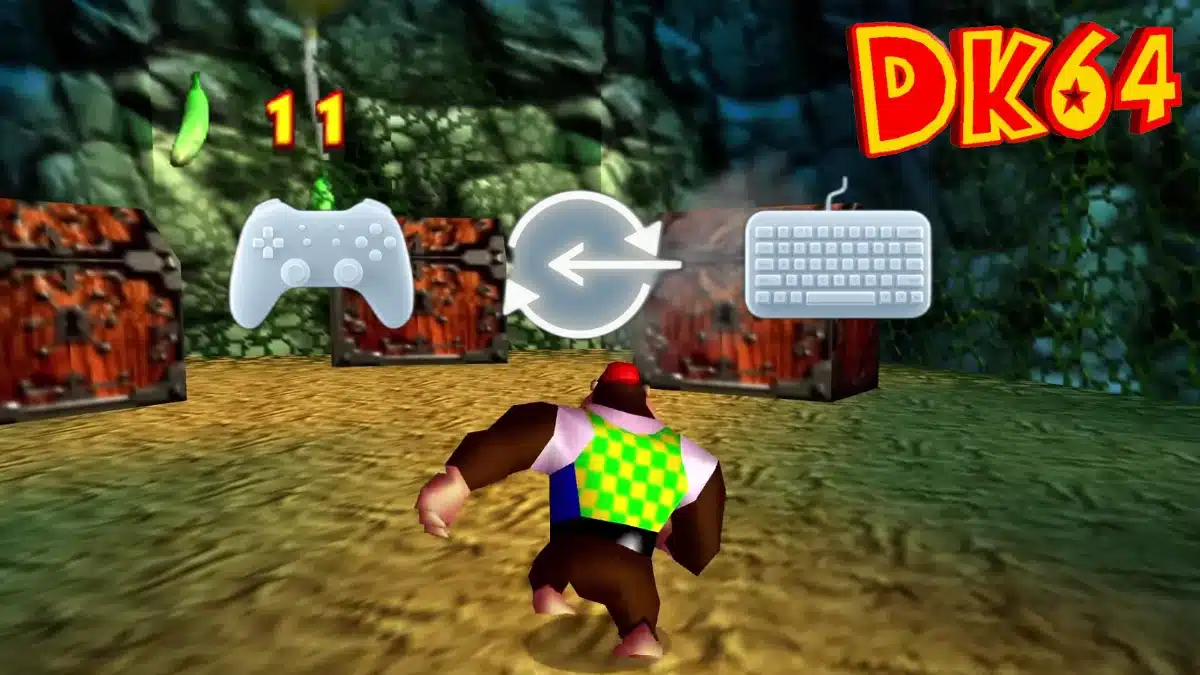
Donkey Kong 64 PC port announced with high frame rates, mod support and widescreen
A Donkey Kong 64 PC port has been announced and it promises widescreen, uncapped frame rates and mod support.
Tips & Tricks
Mortal Kombat 1: All Scorpion Fatalities, Animality, and Brutalities Guide
All Mortal Kombat 1 Scorpion Fatalities, Animality and Brutalities Guide including every input for PlayStation, Xbox and Switch.
Latest Games News
Assassin’s Creed Black Flag Resynced Code Gives Players Two Free Rewards
A new Assassin's Creed Black Flag Resynced code just dropped and it unlocks two free rewards. Here's how to claim it before it expires.
Latest Games News
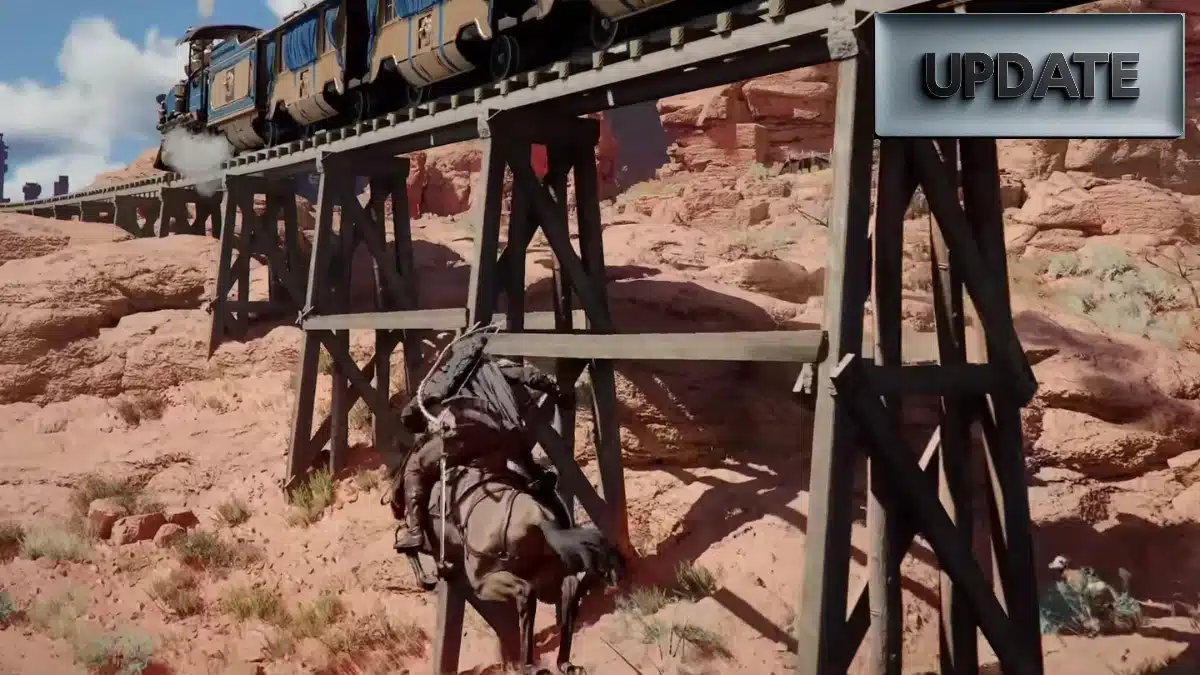
Crimson Desert update 1.13.01 fixes crashes, rewards and performance issues
Crimson Desert update 1.13.01 is live and it targets some of the most frustrating bugs players have been reporting since launch.
Latest Games News
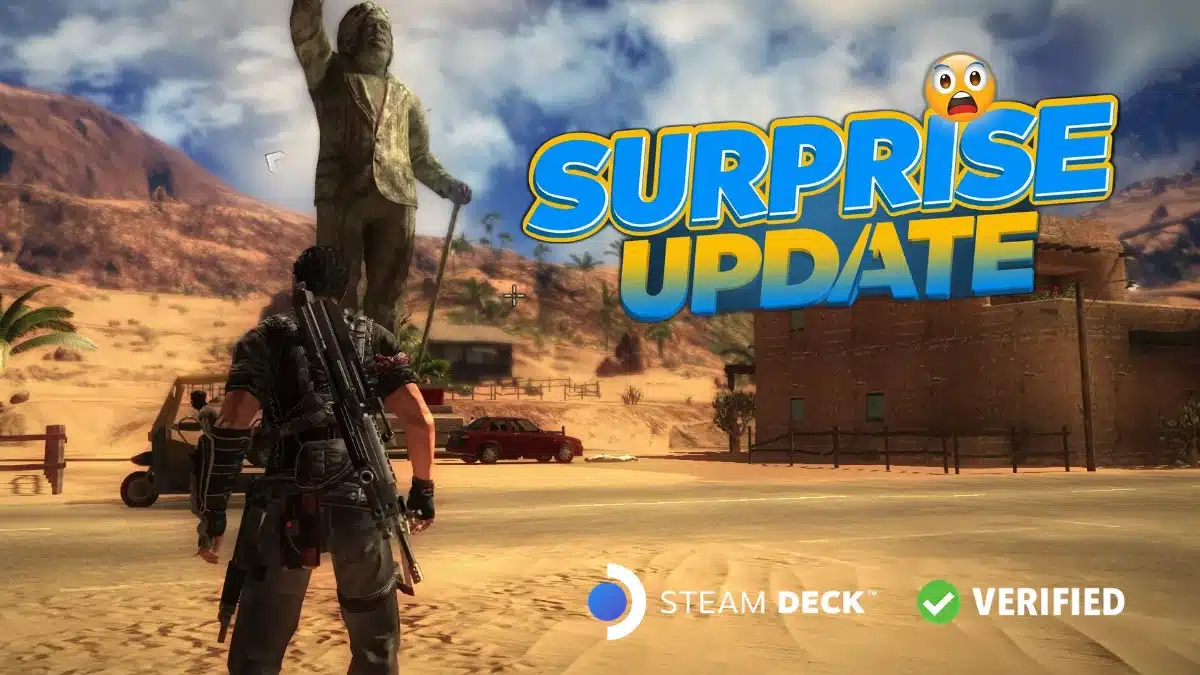
Just Cause 2 Steam Deck Verified update arrives 16 years after launch
Just Cause 2 Steam Deck Verified 16 years after launch, and it fixes a problem that's been annoying players for years.
Latest Games News
Destiny 2 Gloriabundus emblem code gives all players a free final reward
The Destiny 2 Gloriabundus emblem code is live and it could be the last free emblem Bungie ever releases. Here's how to claim it.
Tips & Tricks
Mortal Kombat 1: All Smoke Fatalities, Animality, and Brutalities Guide
This Mortal Kombat 1 All Smoke Fatalities Animality and Brutalities Guide covers every finisher you need to know.
Latest Games News
CS2 Season 5 update launches with Cache, Armory skins and major bomb damage overhaul
CS2 Season 5 update is live and the bomb damage overhaul alone changes how you'll play every round. Here's the full breakdown.
Latest Games News
Subnautica 2 Adaptive Measures Update Adds FOV Slider and Creature Stuns
The Subnautica 2 Adaptive Measures update is live now and it fixes some of the community's biggest complaints. Full patch notes here.