
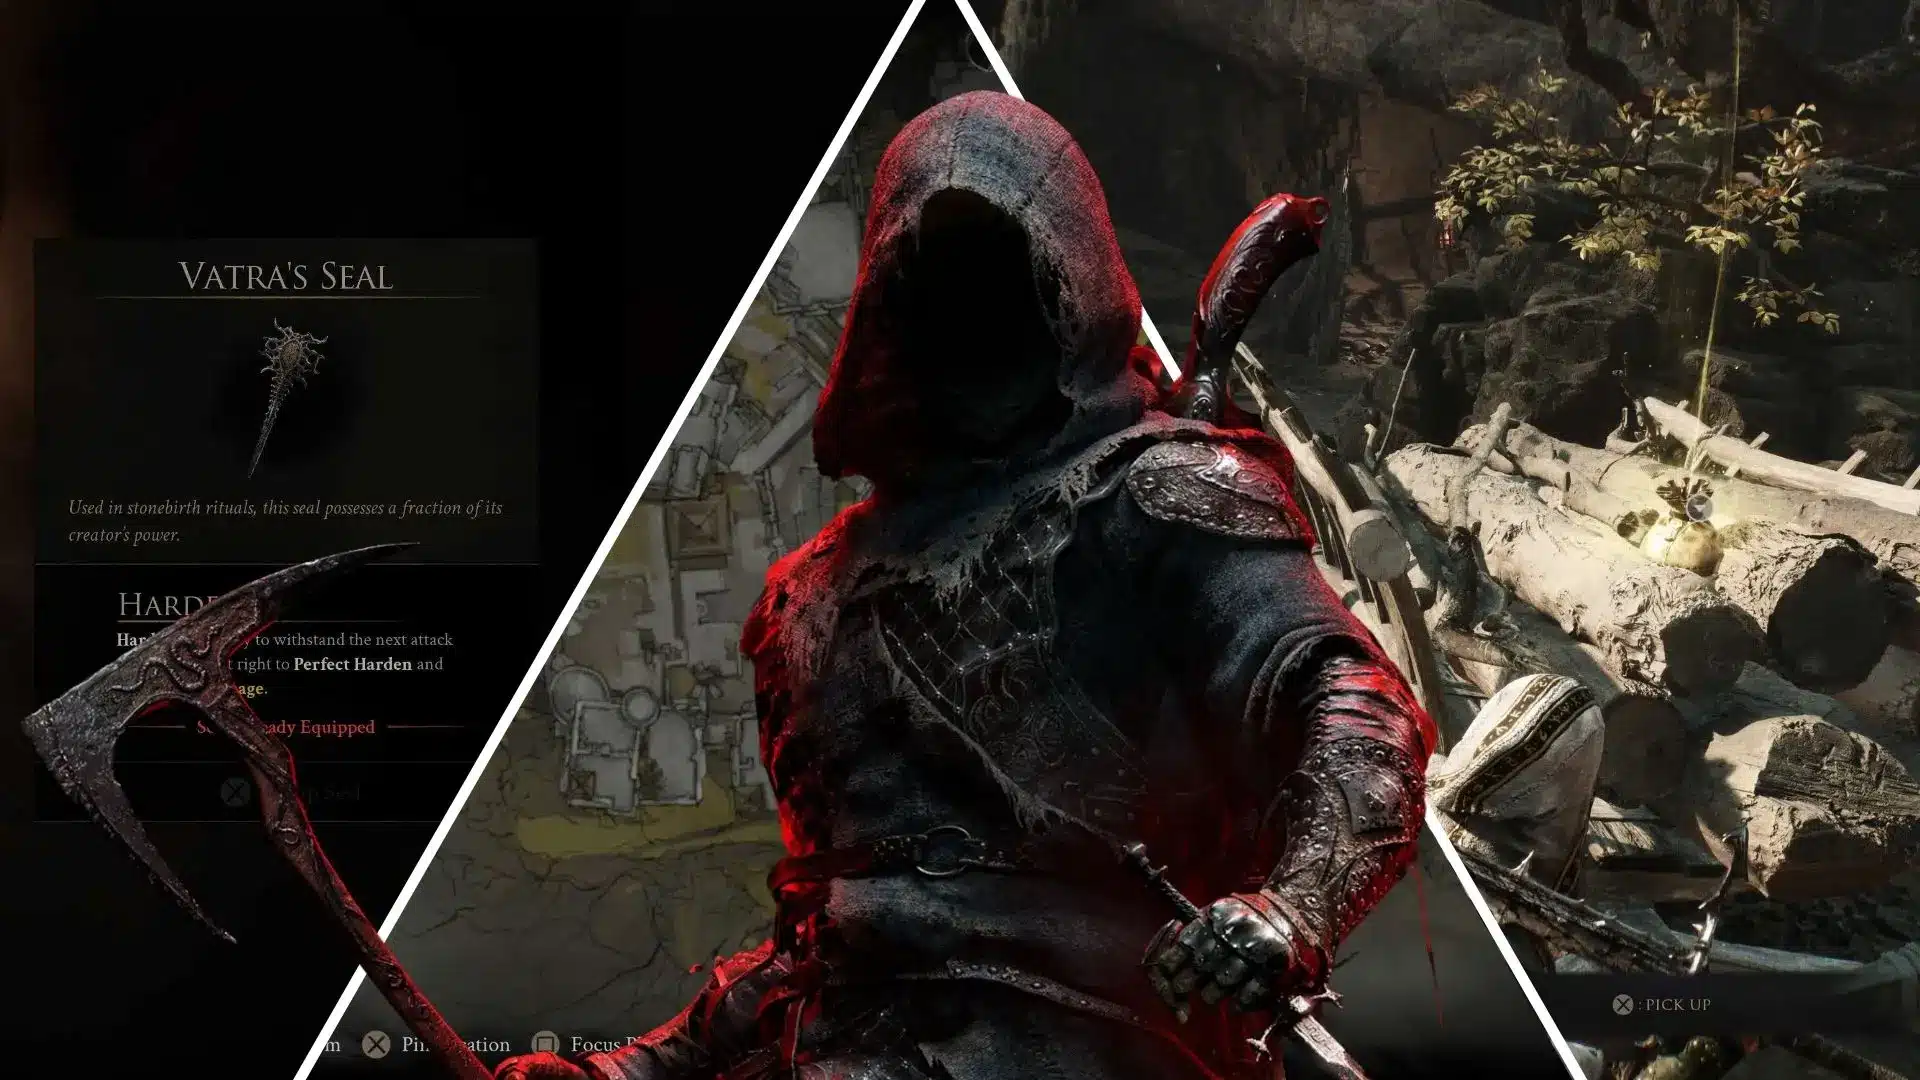
Key Highlights:
- Mortal Shell 2 beginners should explore Marrow Keep first, test each Seal, and start in Fainwield before tackling the tougher Outskirts of Mammon.
- Tiel and Proxima are two early Shells worth unlocking, offering more aggressive and defensive playstyles respectively.
- Enable automatic coin pickup, manually mark completed dungeons, and try the Action camera if the default view feels too restrictive.
Mortal Shell 2 is the latest Soulslike vying for the attention of the sadistic lovers of the genre. A game that aims to one-up the rather mid-tier original, and does so in just about every way imaginable.
It’s a dense game, with a vast world to explore, a complex combat system to get to grips with, and has that enigmatic nature Souls games have built their name on.
Meaning, you could probably benefit from a few handy hints and tips to get you started, and send you on your path to becoming the most powerful Harbinger the world has ever seen.
Quick Links:
#1 – Pick The Seal That Suits You
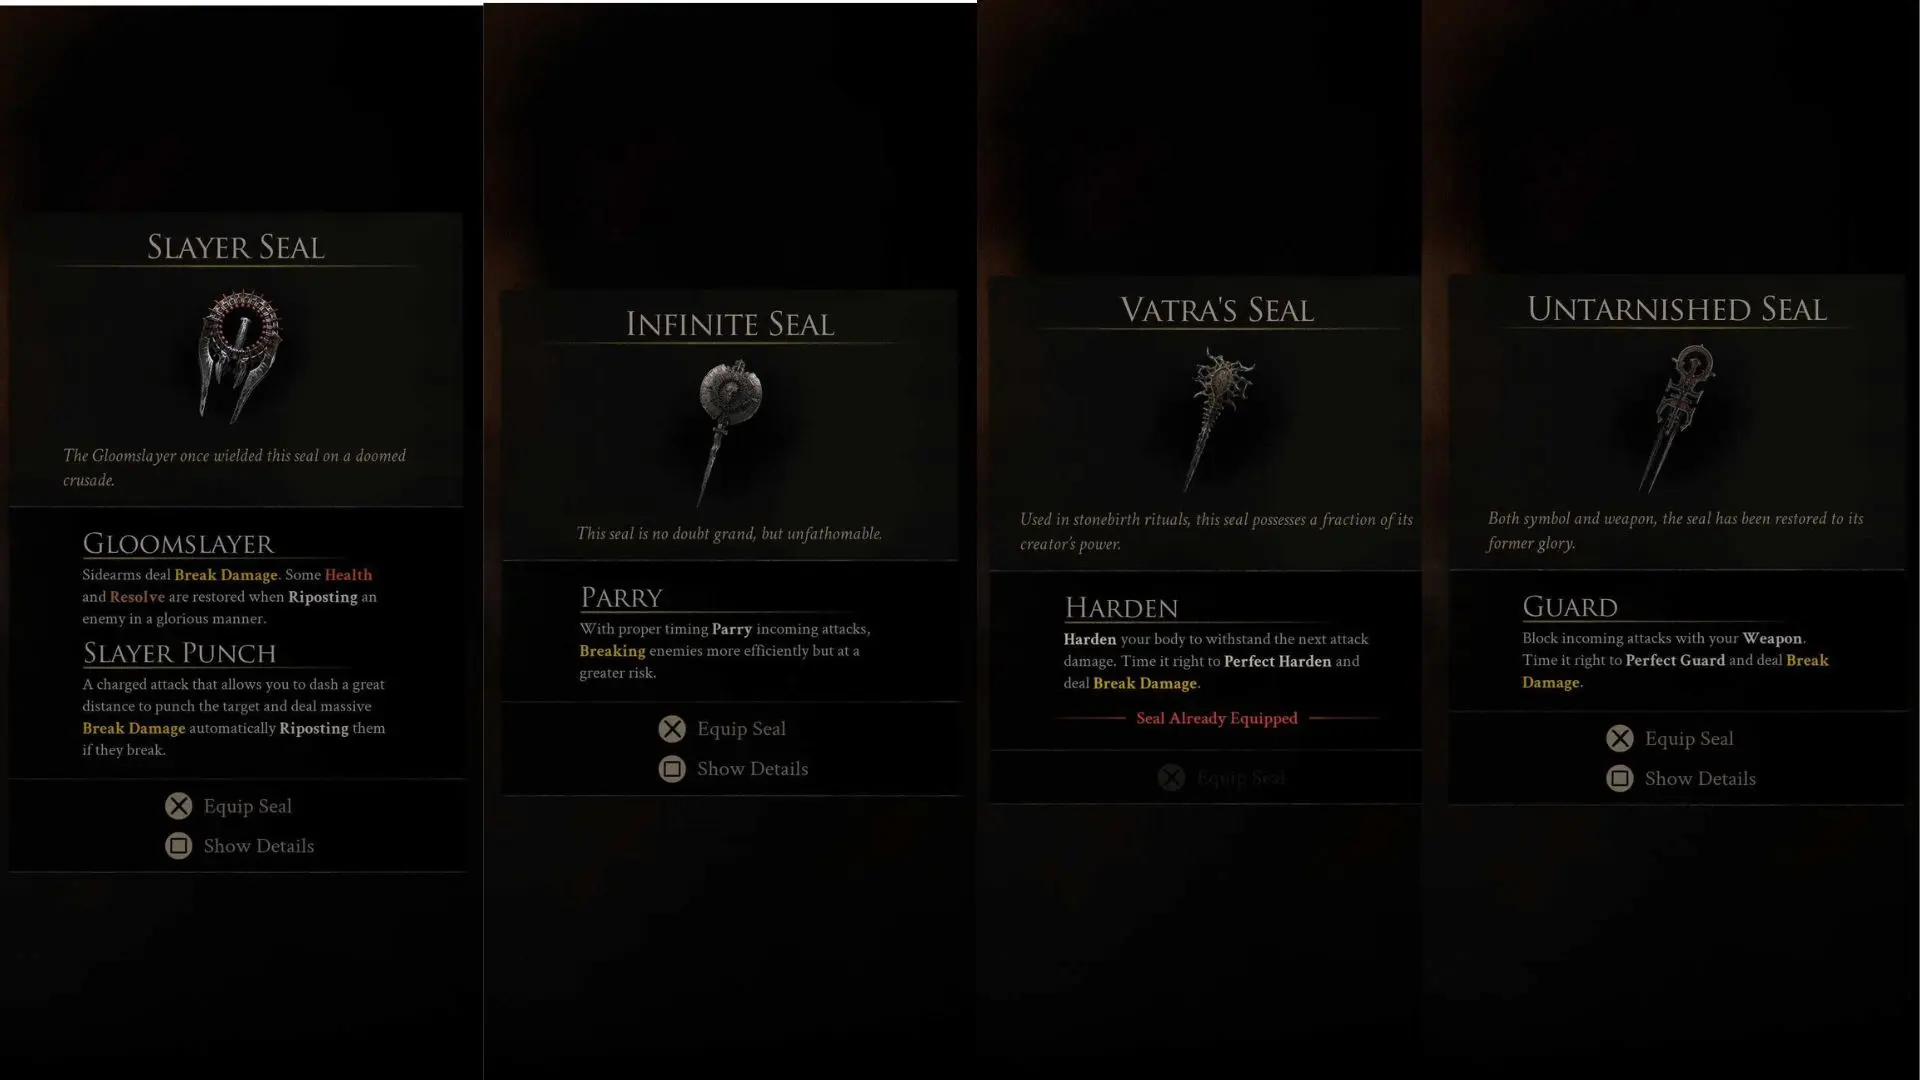
Much like most Soulslikes, Mortal Shell 2 doesn’t have a traditional difficulty settings menu where you can turn things down a notch. But it does have difficulty options baked right into the experience.
With the Untarnished, Vatra’s, Infinite, and Slayer Seals in play, you can alter the combat of Mortal Shell significantly. With options that play like traditional Souls games, the original Mortal Shell, Sekiro, and Mortal Shell-lite, respectively.
It’s best to try all four of these out by training with Genesha at Marrow Keep, as this will help you get the most enjoyment out of the experience.
#2 – Explore Marrow Keep Carefully
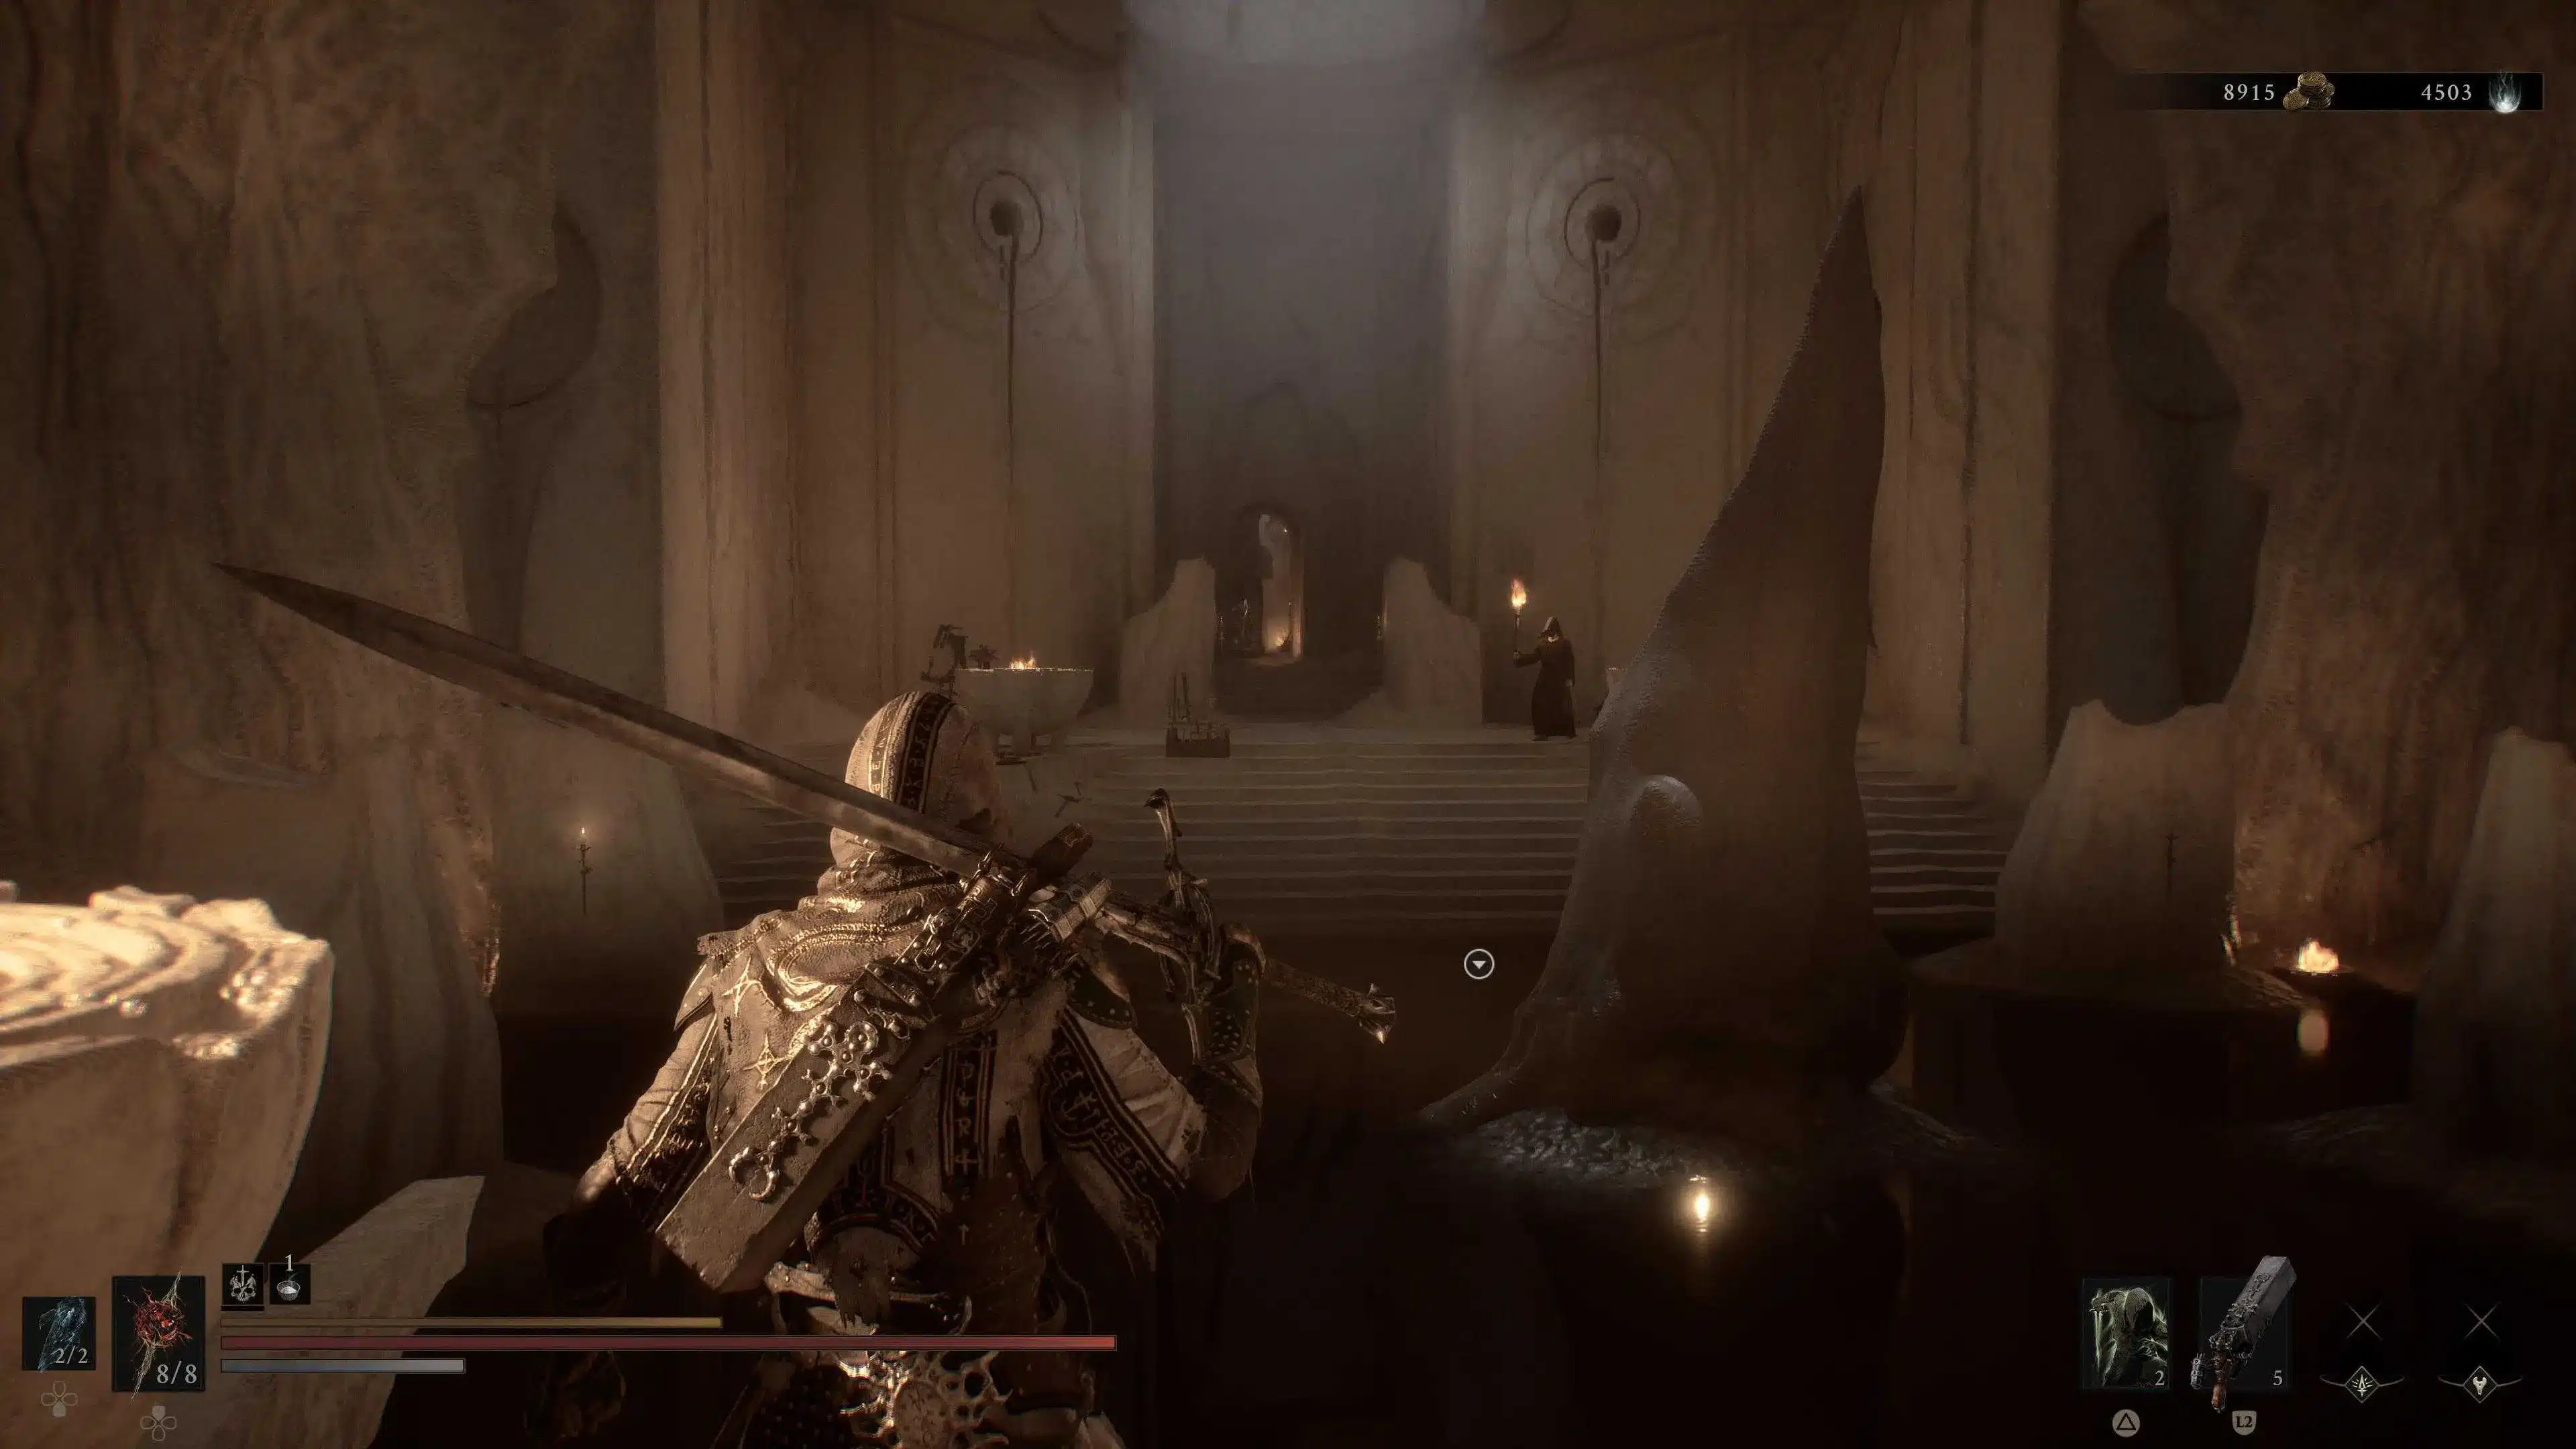
Before heading out in Fainweild or the Outskirts of Mammon, you’ll want to take the time to fully explore the Marrow Keep, this game’s hub area.
Here, you will find a merchant, a blacksmith, a training area, an area to upgrade shells, a place to siphon Ovums, a rooftop granting access to both available regions, and much more.
Plus, there are plenty of secrets, like a fake wall leading to a dungeon in the training area, for example. So, in short, don’t rush off before you get a good look at the place.
#3 – Avoid The Outskirts Of Mammon Initially
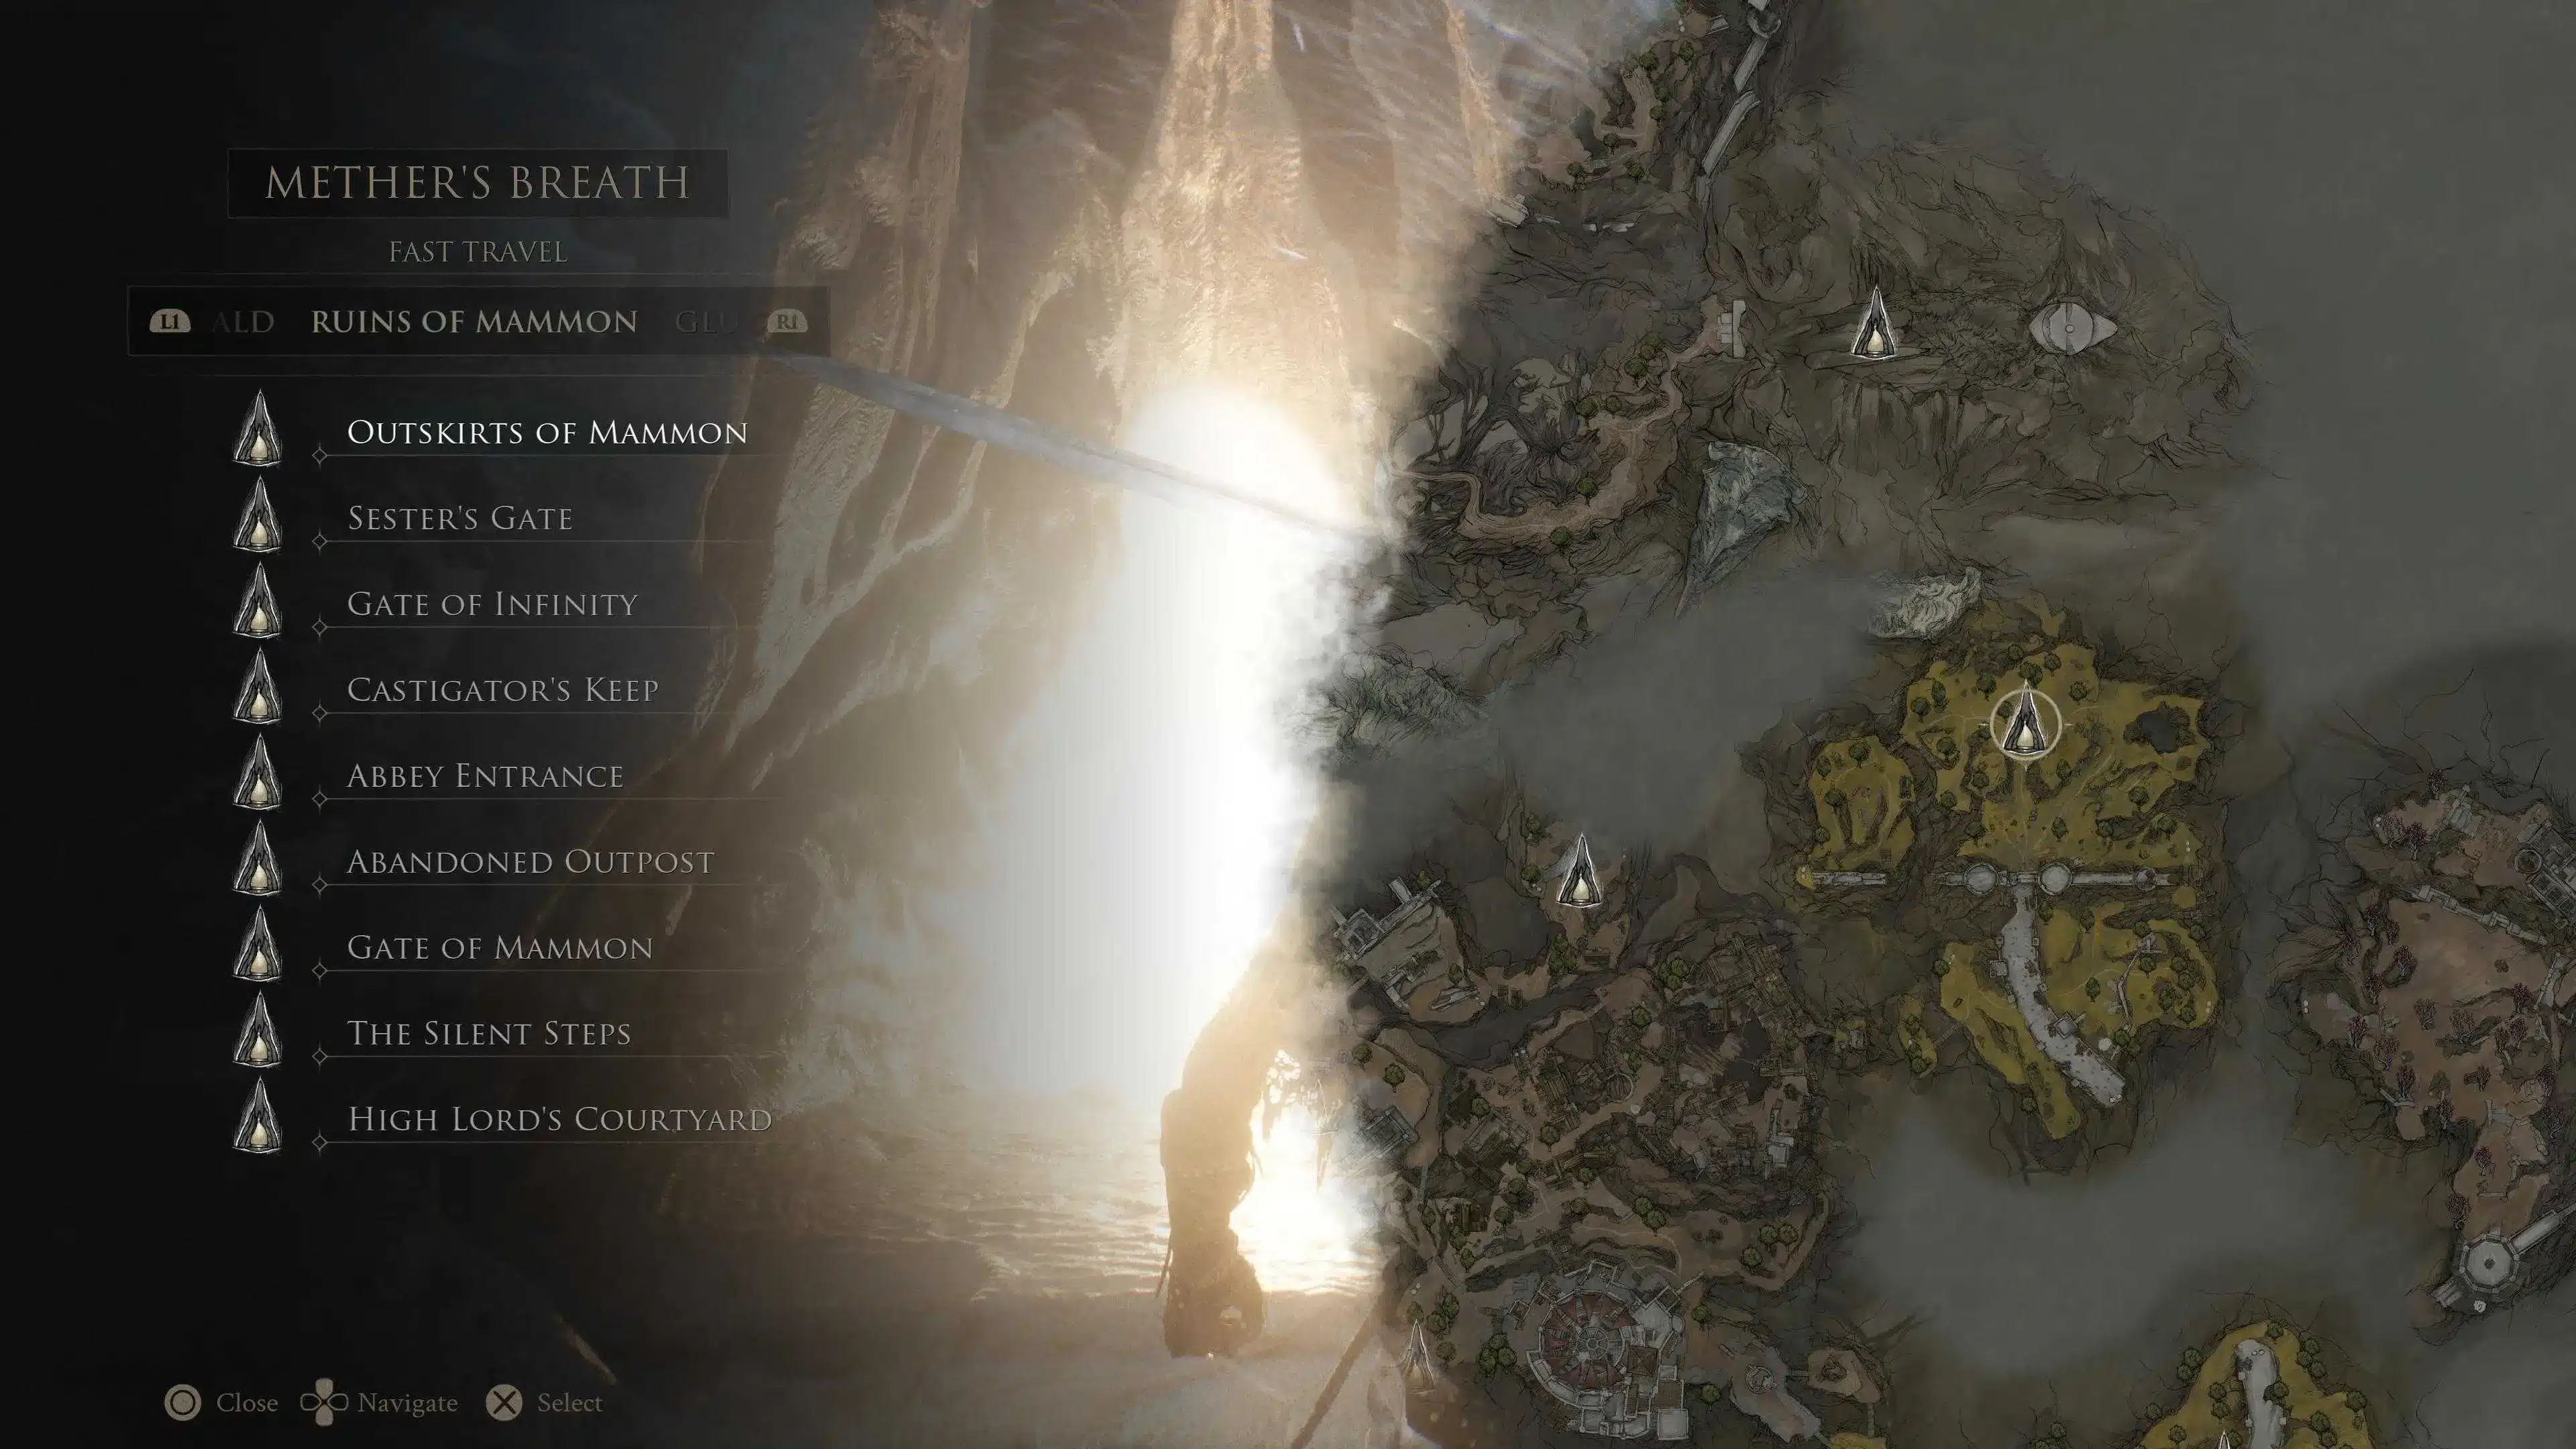
On the subject of the Outskirts of Mammon. We would suggest that you give that place a wide berth for a while. Mainly because the enemies in this region are a lot tougher than those you will find in Fainwield.
Feel free to launch yourself over there, but I assure you, you’ll get knocked out of your shell very quickly.
The best thing you can do is start by exploring the Mushroom Village, and then work your way around Fainwield, checking off Corrupted Gates as you go.
#4 – Mark Dungeons As Complete
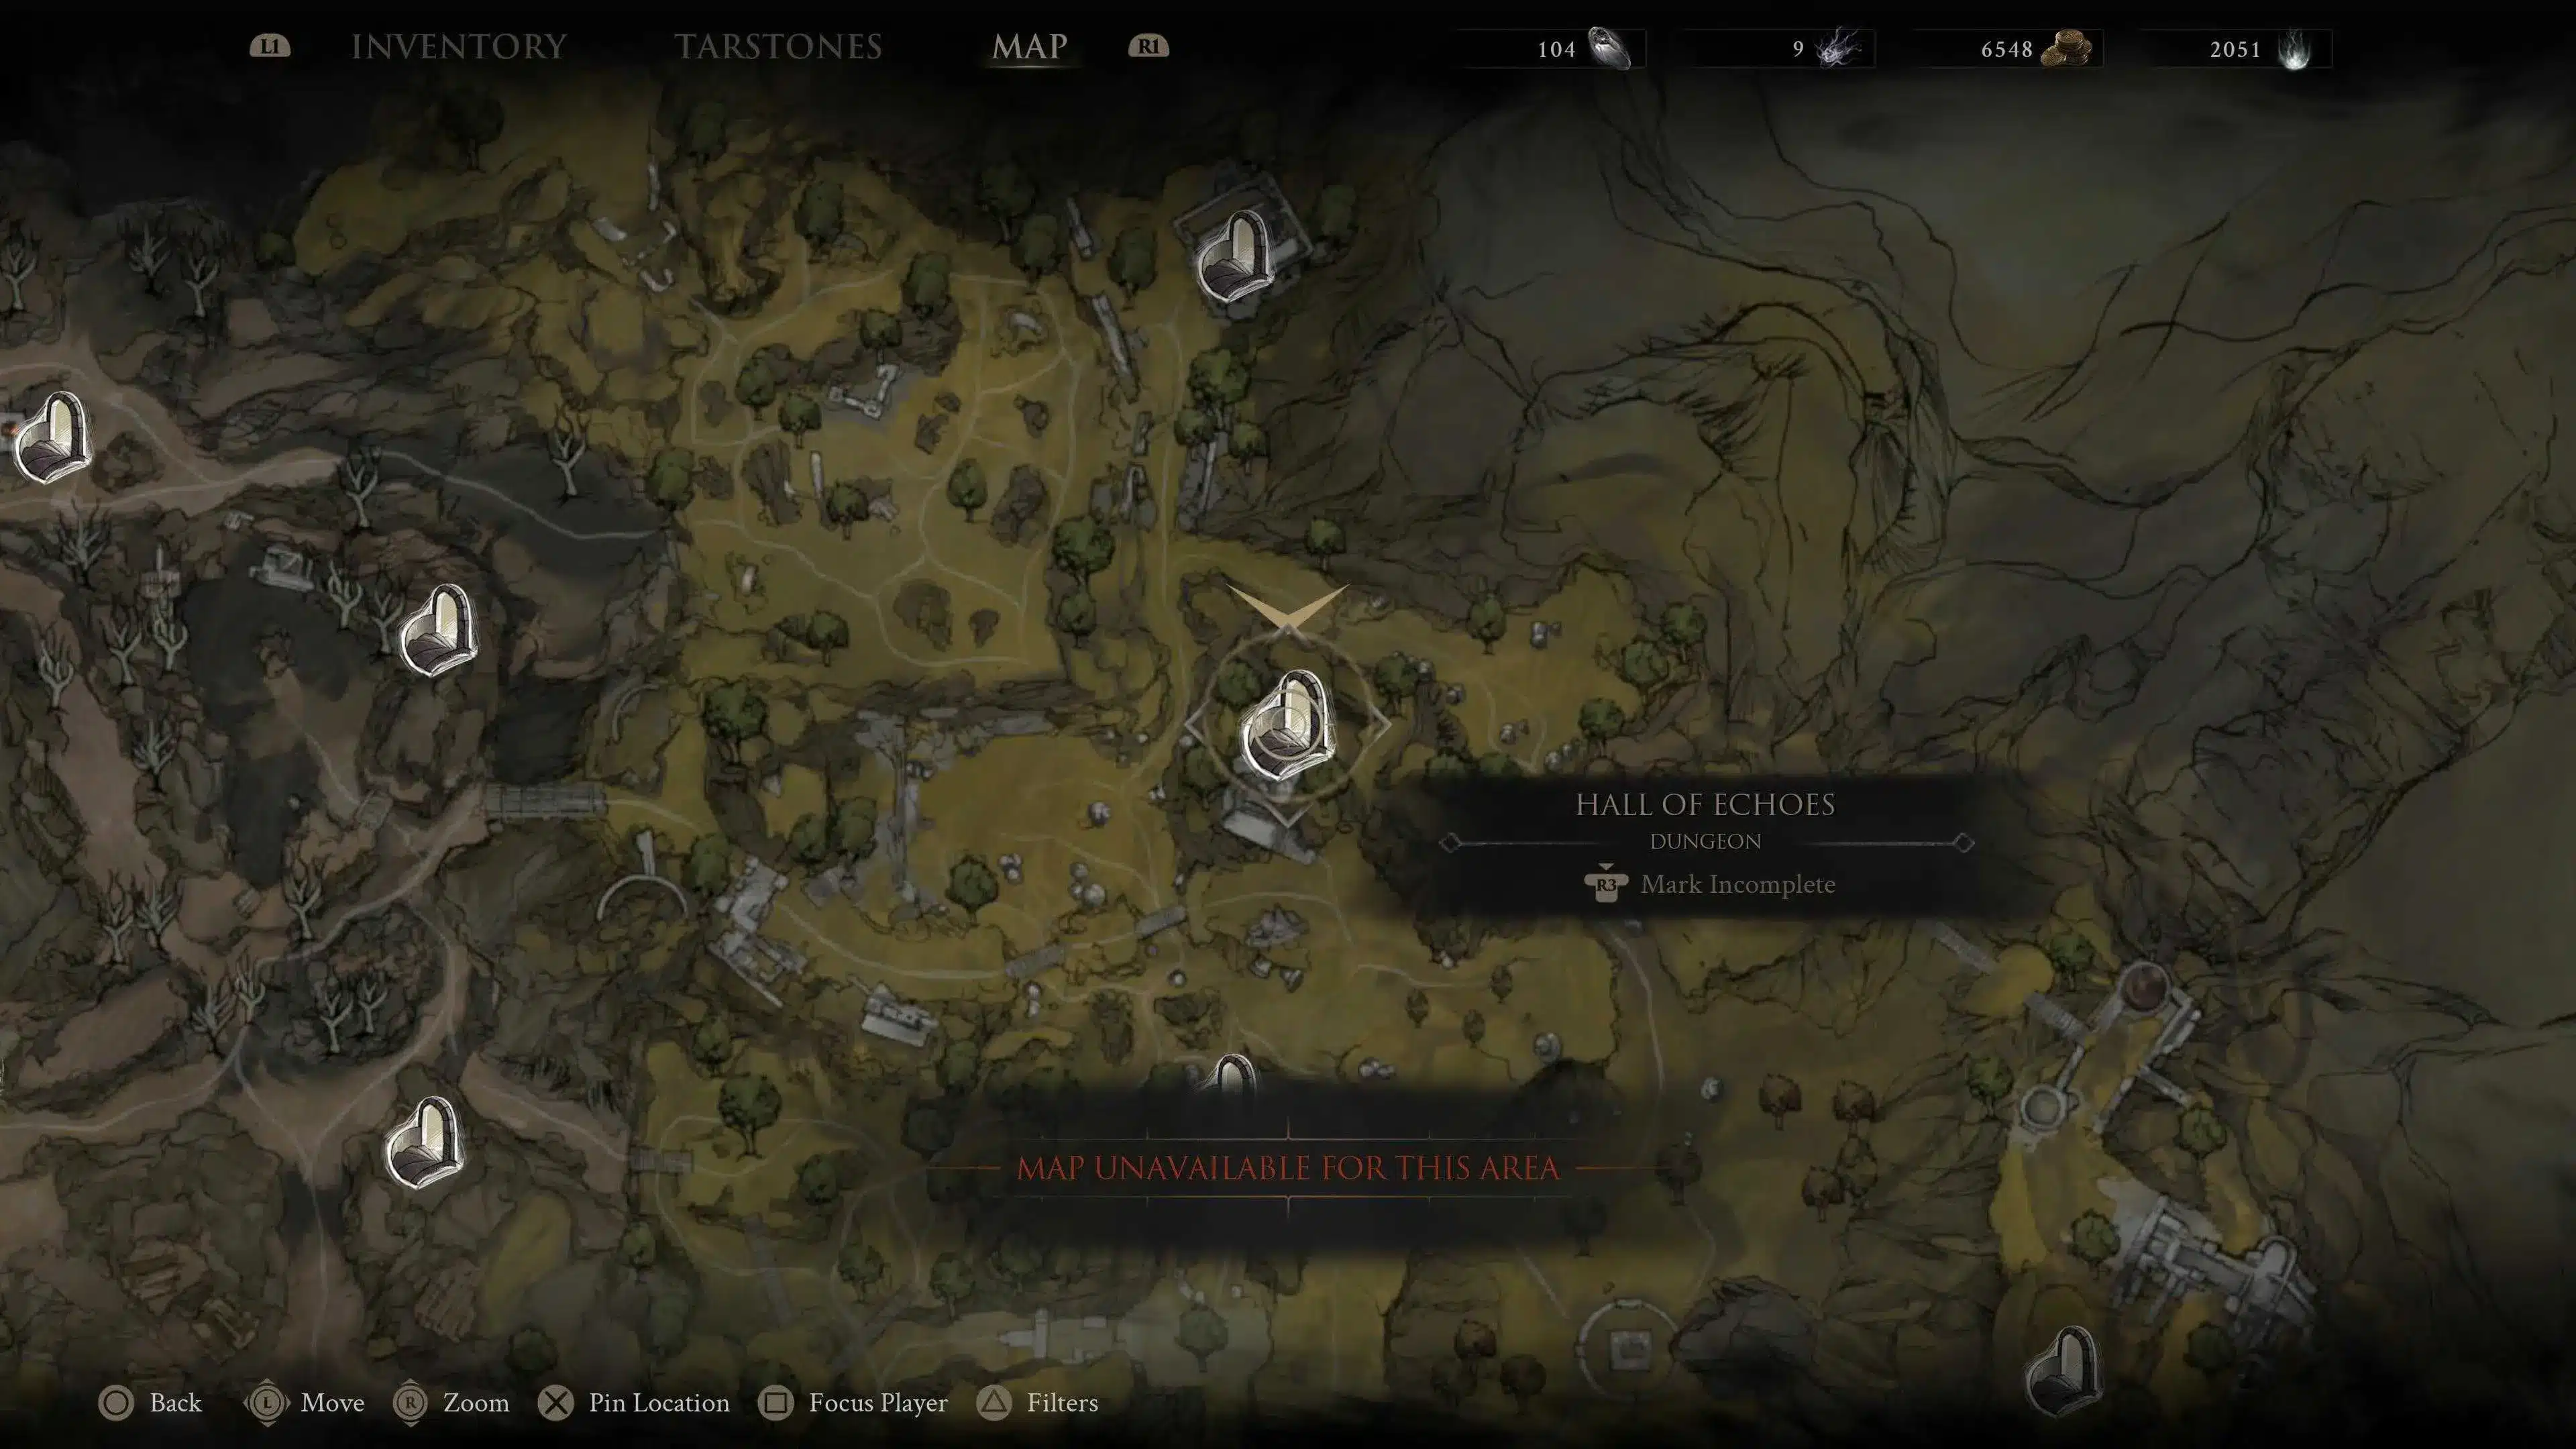
Mortal Shell 2 has a map that is reminiscent of Elden Ring in a lot of ways, complete with bespoke dungeons marked on the map.
But one thing the game doesn’t do for you is mark them off as complete. This is something that you need to do manually after you explore each dungeon.
Get into the habit of doing this early, because it will make backtracking and cleanup much less confusing when you’re wrapping things up.
#5 -Get Tiel & Proxima’s Shell Early

Shells are the unique gimmick posed by this series. A selection of characters, each with their own special abilities, bolstering your natural shell-less form. But to play as them, you first need to find them.
Tiel and Proxima are easily found right at the start of the game, and offer a more attacking and more defensive style, respectively.
Tiel can be found in the Ritual Grounds near the Mushroom Village entrance, and Proxima can be found by cleansing the fractured beacon just beyond Blackridge Pass.
#6 – Look After The Pennies

One thing I wish I had done throughout the early hours of my playthrough was actually take the time to pick up all the coin drops from enemies.
You see, in Mortal Shell 2, your Gloom (Souls) will be collected automatically. But to collect coins, you need to manually pick them up as you would do with items.
However, if you head into the settings menu, you can enable an auto-pickup feature, which means you won’t be lacking in coins when you need them most.
Coins become more of a necessity in the mid-to-late game, as you need to upgrade weapons and temper Tarstones. So, try to save up early to avoid grinding later.
Plus, consider equipping the Judiciar’s Stone Tarstone when you find it, as this will grant you more gold per enemy.
#7 – Consider Your Camera Options
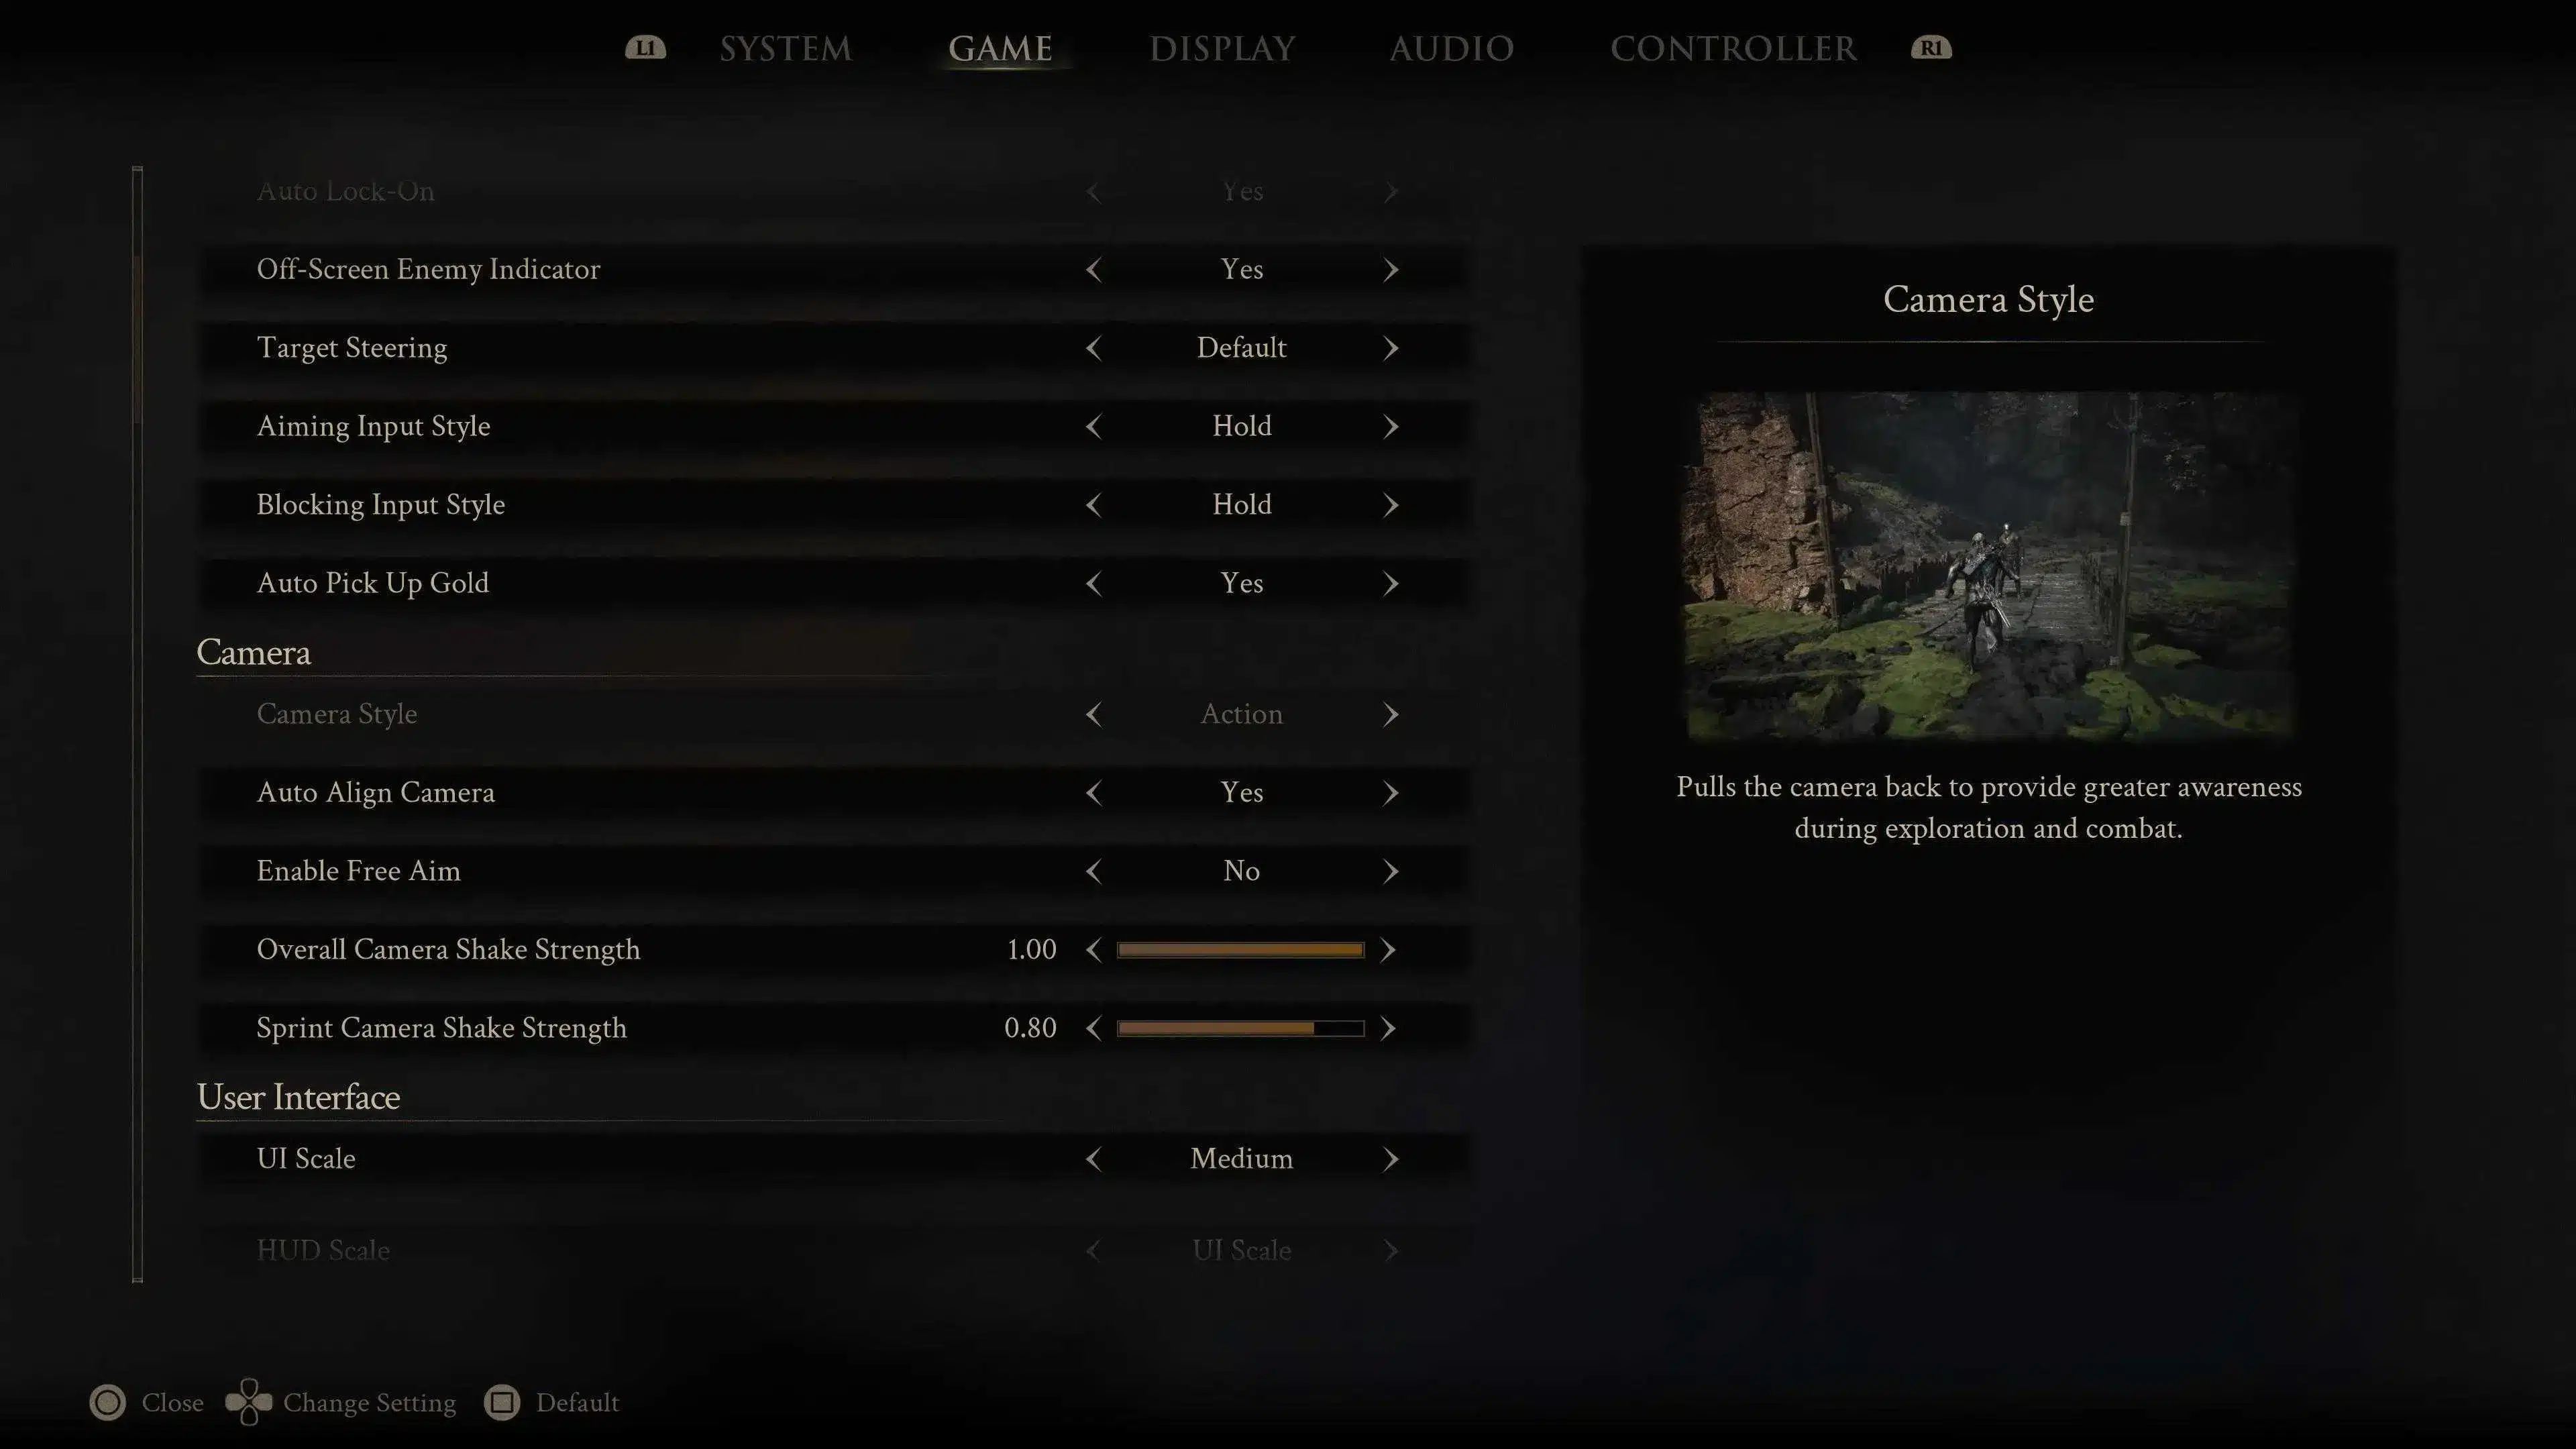
Lastly, you might notice that Mortal Shell 2 opts for a more immersive-style over-the-shoulder camera reminiscent of certain ARPGs rather than a much wider view that most Souls games use.
I personally liked that camera, but at times, vision could be compromised, and things could end up feeling a little cramped and uncomfortable on screen. Something that doesn’t lend itself to precision inputs.
So, you can head into the settings and change this to the Action camera. That way, it’ll feel like a more traditional Souls camera, meaning no time is needed to adjust.