

Key Highlights:
- Complete guide covering Takeda Takahashi’s Fatalities, Animality, and Brutalities in Mortal Kombat 1.
- Platform-specific inputs with Input Distance and Execution Difficulty ratings for Fatalities and Animality.
- Brutality requirements include Fighter Mastery ranks, Final Hit conditions, alternate activation routes, Seasonal Store Brutalities, practical execution advice and video guide.
Quick Links:
Takeda Takahashi returns in Mortal Kombat 1 as a reimagined version of the whip-wielding fighter introduced in Mortal Kombat X. In the New Era, Takeda is Kenshi Takahashi’s cousin rather than his son, and his time with the Shirai Ryu shapes a fighting style built around bladed whips, aerial attacks, Spear Ryu and rapid movement.
Takeda has two character-specific Fatalities, the Ten-Tickles Animality, The Klassic and seven character-specific Brutalities. Five unlock through Fighter Mastery, while Bounce Back and Sneak Attack were added later during the Khaos Reigns era.
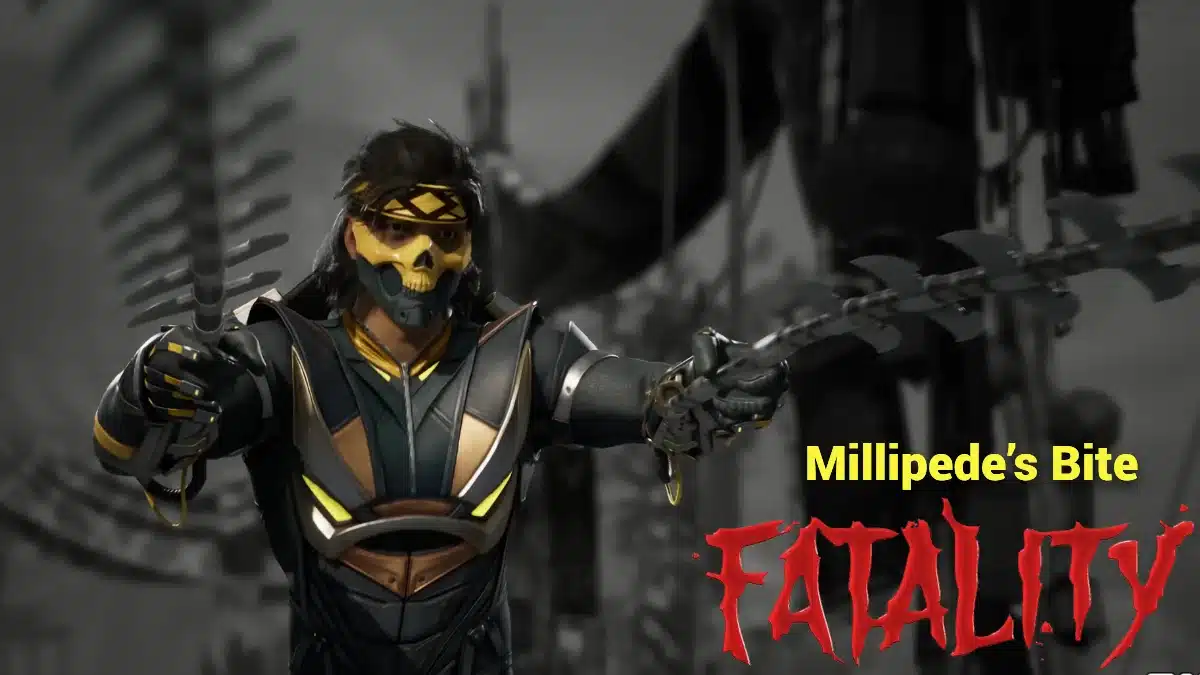
How to Perform Takeda’s First Fatality in MK1 (Millipede’s Bite)
Input Distance: Close to Jump Distance
Execution Difficulty: Easy
- PlayStation: ⬇️, ➡️, ⬇️, 🅧
- Xbox: ⬇️, ➡️, ⬇️, 🅐
- Nintendo Switch: ⬇️, ➡️, ⬇️, 🅑
Millipede’s Bite has Takeda wrap his bladed whips around the opponent before the serrated edges tear through their body. He finishes the sequence by slicing through the airborne head with another whip strike.
The working range is much broader than the generic Mid label suggests. Millipede’s Bite can activate from close range out towards Jump Distance, so I would use Sweep Distance as an easy visual starting point rather than trying to find an exact midpoint.
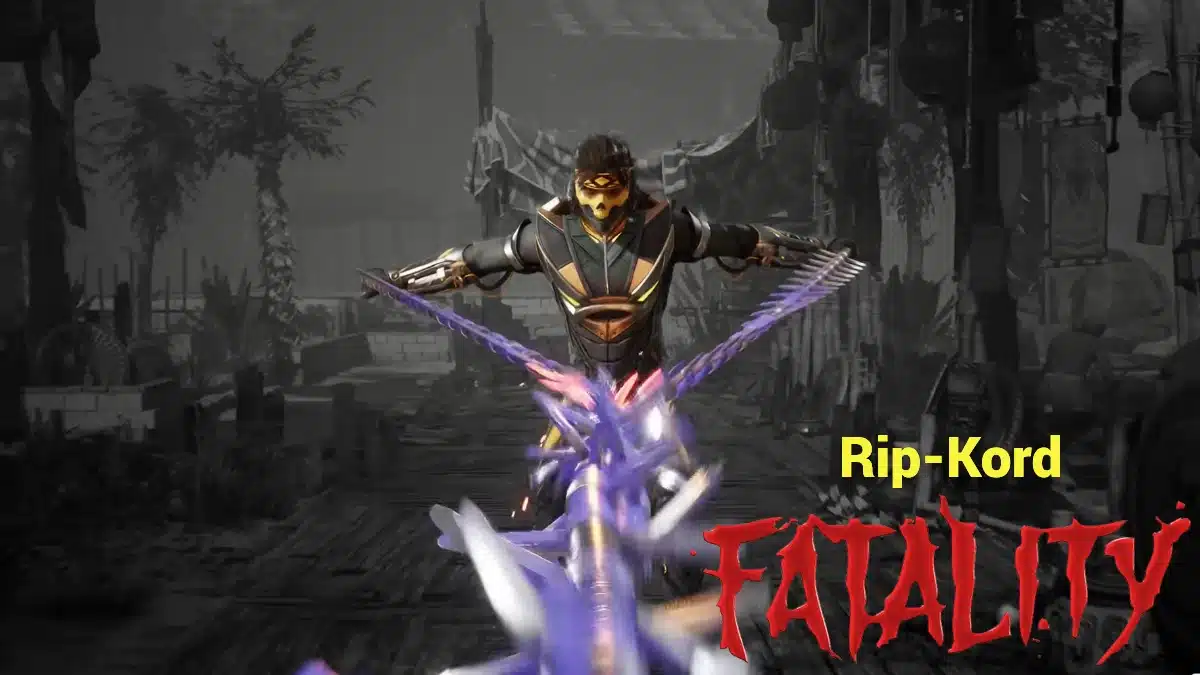
How to Perform Takeda’s Second Fatality in MK1 (Rip-Kord)
Input Distance: Close to Jump Distance
Execution Difficulty: Easy
- PlayStation: ⬅️, ➡️, ⬅️, 🔺
- Xbox: ⬅️, ➡️, ⬅️, 🅨
- Nintendo Switch: ⬅️, ➡️, ⬅️, 🅧
Rip-Kord sees Takeda drive both whips into the opponent before using them to pull himself forward. Their internal organs become tangled across the blades before Takeda ignites the whips and tears the body apart.
Rip-Kord shares the same forgiving working range as Millipede’s Bite. Once you have created a small amount of separation, there is no need to make fine positioning adjustments before entering the input.
Important: Takeda can also perform the Halloween, Thanksgiving, and Winter Fatalities if they are unlocked on the player’s account. These seasonal Fatalities are not unique to Takeda and can be performed by other playable fighters.
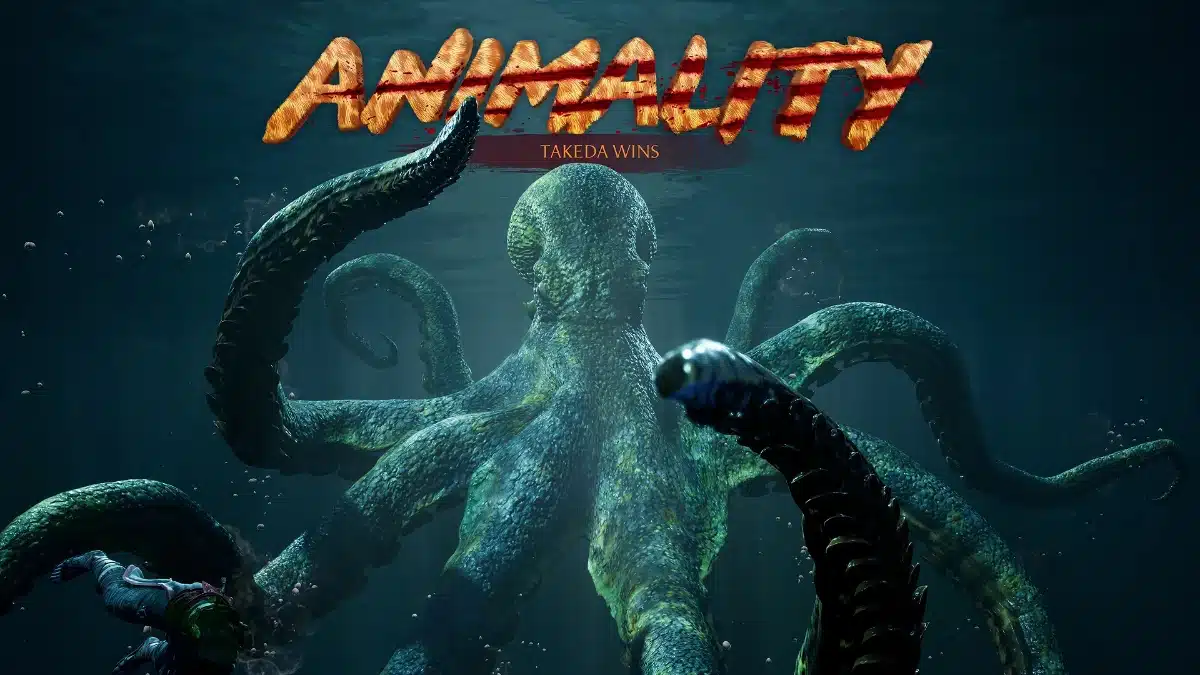
How to Perform Takeda’s Animality in MK1 (Ten-Tickles)
Input Distance: Sweep Distance to Full Screen
Execution Difficulty: Easy
- PlayStation: ⬅️, ➡️, ⬅️, ⬇️
- Xbox: ⬅️, ➡️, ⬅️, ⬇️
- Nintendo Switch: ⬅️, ➡️, ⬅️, ⬇️
Ten-Tickles transforms Takeda into a giant octopus that impales the opponent with its tentacles and drags them beneath the water. The creature tears its victim apart before devouring the upper half of the body.
The transformation has a huge activation window. Establish approximately Sweep Distance and the Animality remains available all the way to Full Screen.
Ten-Tickles also resembles the Kove Stage Fatality from Mortal Kombat X, where a sea creature drags the defeated fighter beneath the water. That makes the Animality a particularly fitting callback for a character who originally debuted in the same game.
For the animal transformation used by every other playable fighter, see our complete Mortal Kombat 1 Animality guide.
All Takeda Brutalities in Mortal Kombat 1
Takeda has The Klassic and five character-specific Brutalities unlocked through Fighter Mastery. Stumped?, Un-Armed, I’ll Take Those, Yakuza Drop and Judgement Day unlock at Mastery Ranks 1, 4, 7, 11 and 18 respectively.
Two additional Brutalities, Bounce Back and Sneak Attack, were added during the Khaos Reigns-era finisher expansion.
The Klassic
Unlock Requirement: Available by default
- PlayStation: ⬇️ + 🔺
- Xbox: ⬇️ + 🅨
- Nintendo Switch: ⬇️ + 🅧
Final Hit: Uppercut
Additional Condition: Hold Back Punch during the Final Hit.
Takeda performs the traditional Mortal Kombat uppercut and removes the opponent’s head.
Keep Back Punch held as the Uppercut connects rather than tapping and releasing it normally.
Stumped?
Unlock Requirement: Fighter Mastery Rank 1
- PlayStation: L1 or ⬜ + 🅧
- Xbox: LB or 🅧 + 🅐
- Nintendo Switch: L or 🅨 + 🅑
Final Hit: 100 Yen Technique (Back Throw)
Additional Condition: Press ⬇️, ⬇️, ⬇️ during the Final Hit.
Stumped? changes Takeda’s 100 Yen Technique Back Throw. Instead of completing the normal throw, Takeda tears off the opponent’s leg and uses the explosive shuriken beneath them to drive it through their body.
Start entering the three Down inputs once 100 Yen Technique begins. Waiting until the explosive portion of the throw is already happening leaves considerably less time for the Brutality input to register.
Brutality Variation: Instead of pressing Down three times, hold Up + Back Punch immediately after initiating 100 Yen Technique to trigger the universal MK11-style Screen Throw Brutality.
Because Stumped? and the Screen Throw originate from the same Back Throw, the follow-up input determines which Brutality activates.
Un-Armed
Unlock Requirement: Fighter Mastery Rank 4
- PlayStation: ⬅️ + 🔺, ⬜, 🔺 + 🅾️
- Xbox: ⬅️ + 🅨, 🅧, 🅨 + 🅑
- Nintendo Switch: ⬅️ + 🅧, 🅨, 🅧 + 🅐
Final Hit: Twin Fangs
Additional Condition: Hold Down during the Final Hit.
Un-Armed uses Takeda’s bladed whips to slice both arms from the opponent before they collapse.
Twin Fangs is the simplest way to activate the Brutality, but it is not the only valid Final Hit. Un-Armed also works from Whip Art: Mad Dance and Whip Art: Death.
Whip Art: Mad Dance requires Takeda to complete the full three-stage Whip Art sequence before holding Down during the final strike. Whip Art: Death uses the Enhanced final Whip Art follow-up and therefore requires one bar of Super Meter.
That gives Un-Armed three legitimate activation routes rather than a single fixed Kombo.
I’ll Take Those
Unlock Requirement: Fighter Mastery Rank 7
- PlayStation: ⬅️, ➡️ + 🔺 + R2
- Xbox: ⬅️, ➡️ + 🅨 + RT
- Nintendo Switch: ⬅️, ➡️ + 🅧 + ZR
Final Hit: Enhanced Double Spear Ryu
Meter Requirement: At least one bar of Super Meter
Additional Condition: Press ➡️, ➡️ during the Final Hit.
I’ll Take Those has Takeda use Enhanced Double Spear Ryu before driving his whips into the opponent and ripping out their brain and heart.
The Enhanced version is mandatory. A standard Double Spear Ryu can still defeat the opponent, but it cannot trigger the Brutality.
Begin entering the two Forward inputs as Enhanced Double Spear Ryu connects rather than waiting for the attack animation to finish.
Yakuza Drop
Unlock Requirement: Fighter Mastery Rank 11
- PlayStation: Jump Forward + 🔺, 🅾️, L1 or ⬜ + 🅧
- Xbox: Jump Forward + 🅨, 🅑, LB or 🅧 + 🅐
- Nintendo Switch: Jump Forward + 🅧, 🅐, L or 🅨 + 🅑
Required Form: Airborne
Final Hit: Falcon Dive
Additional Condition: Hold Down during the Final Hit.
Yakuza Drop converts Takeda’s Falcon Dive aerial Kombo into a Brutality. The finishing Izuna-style drop drives the opponent head-first into the ground and crushes their skull.
The important part is separating the aerial Kombo from the Brutality condition. Perform Falcon Dive normally, then begin holding Down as the throw portion of the sequence connects.
Holding Down too early is unnecessary and can interfere with positioning before the aerial string has properly started.
Judgement Day
Unlock Requirement: Fighter Mastery Rank 18
- PlayStation: While Airborne: ⬇️, ⬅️ + 🔺 + R2
- Xbox: While Airborne: ⬇️, ⬅️ + 🅨 + RT
- Nintendo Switch: While Airborne: ⬇️, ⬅️ + 🅧 + ZR
Required Form: Airborne at the peak of the jump
Final Hit: (Air) Enhanced Spear Ryu
Meter Requirement: At least one bar of Super Meter
Additional Condition: Hold Up during the Final Hit.
Judgement Day uses Takeda’s Enhanced aerial Spear Ryu to keep the opponent suspended before his bladed whips slice through both arms.
This is Takeda’s most demanding Fighter Mastery Brutality because being airborne is not enough. The Enhanced Spear Ryu must be performed around the peak of Takeda’s jump.
The most reliable approach is to jump first, allow Takeda to reach the apex, then enter the Enhanced Spear Ryu input and immediately hold Up as it connects. Performing the special too early during the ascent or too late while falling can prevent the required version from activating.
Seasonal Store Brutalities
Takeda received two additional Brutalities through the Seasonal Store during the Khaos Reigns-era finisher expansion. Bounce Back and Sneak Attack sit outside Fighter Mastery progression and remain part of his current Brutality collection.
Bounce Back
Unlock Requirement: Seasonal Store
- PlayStation: 🔺, ⬜, 🔺
- Xbox: 🅨, 🅧, 🅨
- Nintendo Switch: 🅧, 🅨, 🅧
Final Hit: Meteor Slam
Additional Condition: Hold Down during the Final Hit.
Bounce Back modifies Takeda’s Meteor Slam Kombo. The finishing strike catches the opponent across the neck and decapitates them before their falling body crushes the severed head.
Meteor Slam is a straightforward three-button string, so the execution requirement is simple. Complete the Kombo normally and keep Down held as the final Back Punch lands.
Sneak Attack
Unlock Requirement: Seasonal Store
- PlayStation: ⬅️, ➡️ + 🅧, then hold ⬆️ or ⬅️
- Xbox: ⬅️, ➡️ + 🅐, then hold ⬆️ or ⬅️
- Nintendo Switch: ⬅️, ➡️ + 🅑, then hold ⬆️ or ⬅️
Final Hit: Swift Stride Phase
Additional Condition: Hold Down during the Final Hit.
Sneak Attack uses Swift Stride Phase rather than the standard Swift Stride attack. Takeda disappears through the opponent and returns with a crushing strike that drives their head down into their torso.
There are two separate directional stages here, which makes the requirement easier to misunderstand than it first appears.
After entering Swift Stride, hold Up or Back to trigger the Phase version. Once Takeda transitions into Swift Stride Phase, release that direction and hold Down as the finishing attack connects.
Simply performing the ordinary Swift Stride kick and holding Down will not trigger Sneak Attack because the Final Hit specifically has to come from the Phase version.
Takeda Brutalities Video Guide

The above MK1 finisher compilation includes Takeda’s Fatalities and Brutality collection. It provides a useful visual reference for the finishing animations alongside the Final Hit conditions and execution details already covered in this guide.
In Mortal Kombat 1’s New Era, Takeda’s strongest character connections are his cousin Kenshi and Scorpion, whose Shirai Ryu training helped reshape Takeda after his life with the Yakuza. You can continue through our Kenshi and Scorpion finisher guides for their Fatalities, Animalities and Brutalities.
For the complete playable roster in one place, see our Mortal Kombat 1 Finisher Guide, which brings together every character guide covering Fatalities, Animalities and Brutalities.