

Key Highlights:
- Complete guide covering Mileena’s Fatalities, Animality, and Brutalities in Mortal Kombat 1.
- Platform-specific inputs with Input Distance and Execution Difficulty ratings for Fatalities and Animality.
- Brutality requirements include Fighter Mastery ranks, Final Hit conditions, meter requirements, and Seasonal Store Brutalities. Features practical execution advice, platform controls, and video guide.
Quick Links:
Mileena is the heir to Outworld and twin sister of Kitana in Mortal Kombat 1. Her fighting style combines twin sais, teleportation and her signature Roll with the increasingly savage abilities caused by her Tarkat infection.
Mileena has two character-specific Fatalities, the Maneater Animality, The Klassic, five Brutalities unlocked through Fighter Mastery and two additional Seasonal Store Brutalities. This Mortal Kombat 1 guide covers every current finisher alongside its platform inputs, working distances, Final Hits and activation conditions.
How to Perform Mileena’s First Fatality in MK1 (Appetizer)
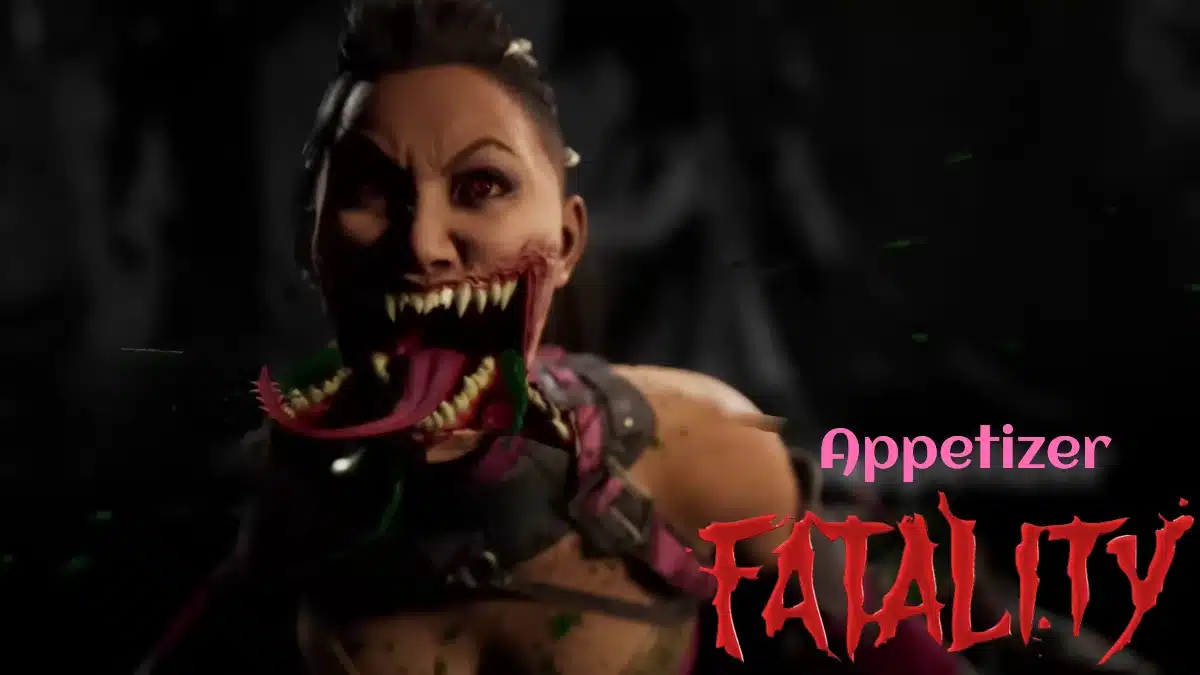
Input Distance: Close to Sweep Distance
Execution Difficulty: Easy
- PlayStation: ⬅️➡️⬅️⬜
- Xbox: ⬅️➡️⬅️🅧
- Nintendo Switch: ⬅️➡️⬅️🅨
Mileena drives her sais into the opponent’s head and shoulders before forcing them to their knees. She then exposes her Tarkatan mouth, bites into the victim’s skull and devours their brain before taking another bite from the remaining head.
Appetizer does not require Mileena to stand directly against the opponent. Its activation window extends towards Sweep Distance, giving you considerably more room than the basic Close description suggests.
I would leave a small gap rather than automatically walking Mileena point-blank after winning the round.
How to Perform Mileena’s Second Fatality in MK1 (Killopractic Adjustment)
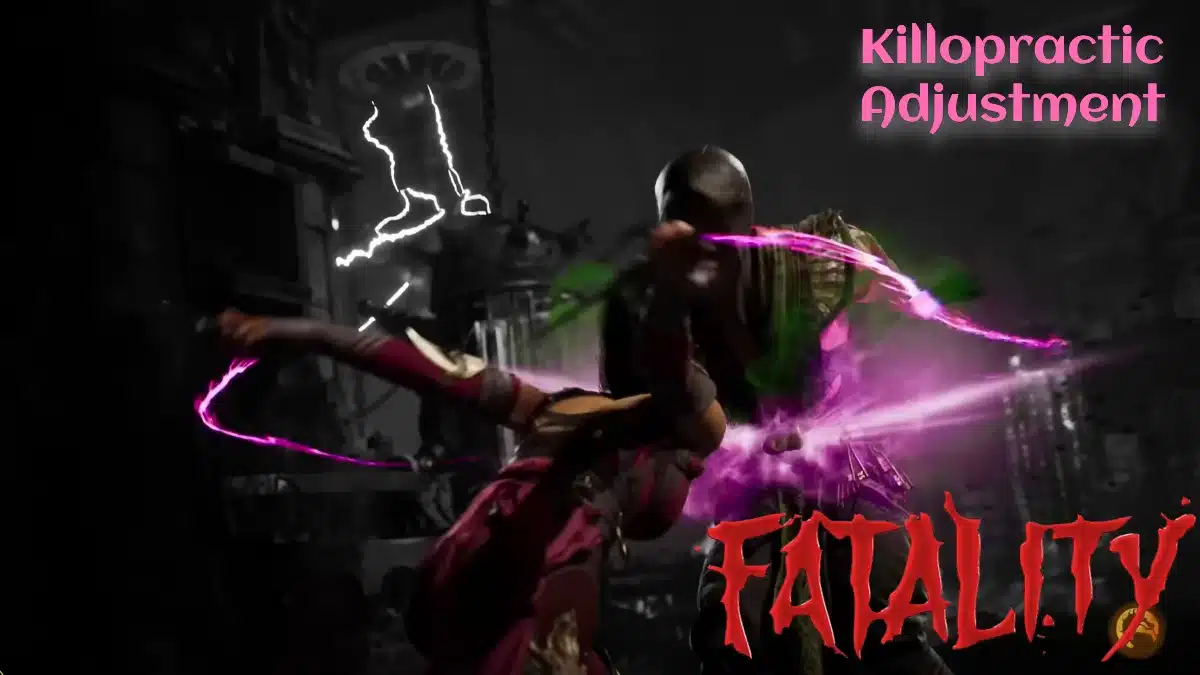
Input Distance: Close to Sweep Distance
Execution Difficulty: Easy
- PlayStation: ⬇️➡️⬅️🅧
- Xbox: ⬇️➡️⬅️🅐
- Nintendo Switch: ⬇️➡️⬅️🅑
Killopractic Adjustment sees Mileena slash open the opponent’s abdomen before driving both sais into the sides of their head. She violently twists the neck before using a backflip to tear the head completely from the body.
Both Mileena Fatalities use essentially the same positioning window. There is therefore no real spacing advantage between Appetizer and Killopractic Adjustment, so the easier one to perform comes down to which input sequence you remember more naturally.
Important: Mileena can also perform the Halloween, Thanksgiving, and Winter Fatalities if they are unlocked on the player’s account. These seasonal Fatalities are not unique to Mileena and can be performed by other playable fighters.
How to Perform Mileena’s Animality in MK1 (Maneater)
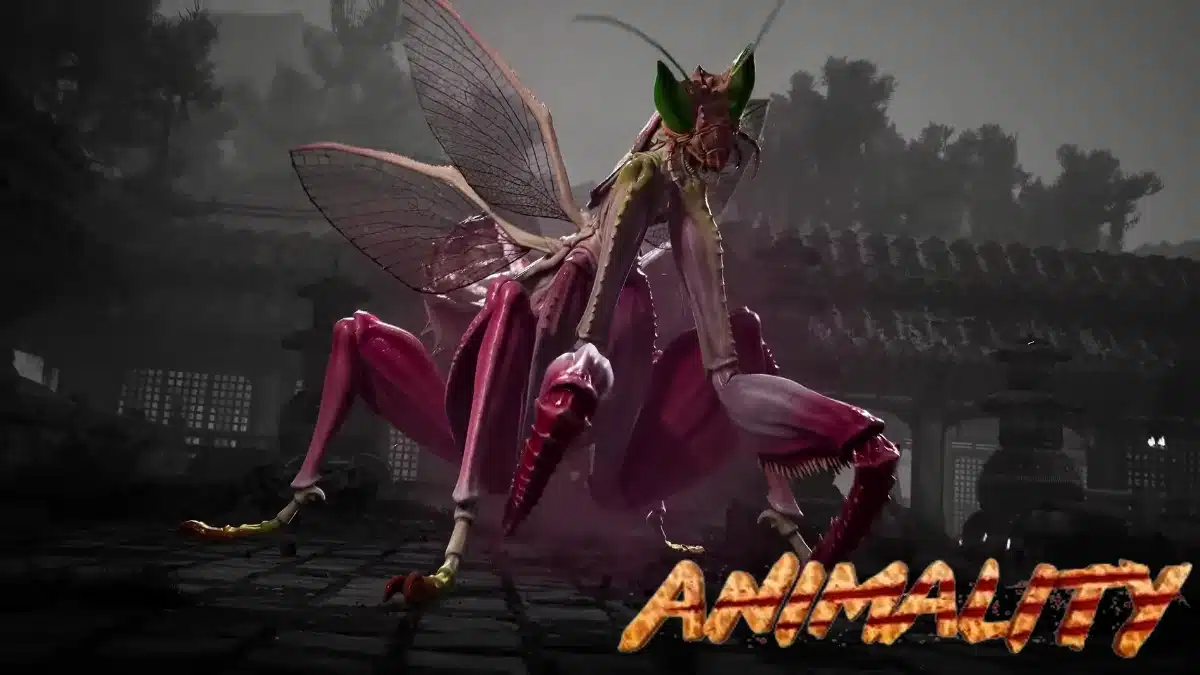
Input Distance: Sweep Distance to Full Screen
Execution Difficulty: Easy
- PlayStation: ➡️⬇️⬇️🅾️
- Xbox: ➡️⬇️⬇️🅑
- Nintendo Switch: ➡️⬇️⬇️🅐
Maneater transforms Mileena into a giant orchid mantis. She impales the opponent through the shoulders with its forelimbs, eats their head and then tears the remaining body apart.
The Animality has a much larger activation window than Mileena’s two Fatalities. Once you have at least Sweep Distance, there is no need to move closer before entering the four-button input.
The orchid mantis also replaces Mileena’s original animal transformation. In Ultimate Mortal Kombat 3 and Mortal Kombat Trilogy, she became a skunk for her Animality. MK1 completely changes the animal while keeping the predatory theme much closer to Mileena’s modern character.
For the animal transformation used by every other playable fighter, see our complete Mortal Kombat 1 Animality guide.
All Mileena Brutalities in Mortal Kombat 1
Mileena has The Klassic and five character-specific Brutalities unlocked through Fighter Mastery. Did That Hurt?, Maybe Next Time, The Best Part, Early Lunch and High Roller unlock at Mastery Ranks 3, 5, 7, 10 and 15 respectively.
Two additional Brutalities, Up The Gut and Head Case, were added through the Seasonal Store. They are separate from Fighter Mastery progression and remain usable once acquired.
The Klassic
Unlock Requirement: Available by default
- PlayStation: ⬇️ + 🔺
- Xbox: ⬇️ + 🅨
- Nintendo Switch: ⬇️ + 🅧
Final Hit: Uppercut
Additional Condition: Hold Back Punch during the Final Hit.
Mileena performs the universal Uppercut Brutality and removes the opponent’s head.
The Klassic requires no Fighter Mastery progression. Continue holding Back Punch as the Uppercut connects rather than releasing the attack button immediately after entering it.
Did That Hurt?
Unlock Requirement: Fighter Mastery Rank 3
- PlayStation: L1 or ⬜ + 🅧
- Xbox: LB or 🅧 + 🅐
- Nintendo Switch: L or 🅨 + 🅑
Final Hit: Brainstorm (Back Throw)
Additional Condition: Press Down, Down, Down during the Throw.
Mileena performs Brainstorm but changes its normal ending, repeatedly stabbing the opponent before driving both sais into their eyes.
Enter the three Down inputs immediately after the Back Throw begins rather than waiting for Brainstorm to reach its final animation.
I would treat it as one continuous sequence:
Back Throw → Down → Down → Down
Brutality Variation: Instead of pressing Down three times, hold Up + Back Punch immediately after initiating the Back Throw to trigger the universal MK11-style Screen Throw Brutality. The opponent is thrown towards the camera and cracks the screen.
Both finishers therefore begin with Brainstorm, while the follow-up input determines which Brutality activates.
Maybe Next Time
Unlock Requirement: Fighter Mastery Rank 5
- PlayStation: 🔺, ⬜, L1 or ⬜ + 🅧
- Xbox: 🅨, 🅧, LB or 🅧 + 🅐
- Nintendo Switch: 🅧, 🅨, L or 🅨 + 🅑
Final Hit: Ballerenal Failure
Additional Condition: Hold Down during the Final Hit.
Mileena completes Ballerenal Failure and decapitates the opponent. She removes her mask as the body collapses before feeding on the severed head.
The safest way to apply the held direction is after the Kombo has already started. Enter Back Punch, Front Punch and then hold Down while completing the Throw input.
That prevents Down from interfering with the opening attacks while still registering before Ballerenal Failure reaches its Final Hit.
The Best Part
Unlock Requirement: Fighter Mastery Rank 7
- PlayStation: ⬇️⬅️🔺 + R2
- Xbox: ⬇️⬅️🅨 + RT
- Nintendo Switch: ⬇️⬅️🅧 + ZR
Final Hit: Enhanced Teleport Down
Additional Condition: Rapidly press Front Punch or Back Punch six times during the Final Hit. Requires at least one bar of Super Meter.
Mileena performs Enhanced Teleport Down but replaces the normal ending by driving her sai through the opponent’s skull.
The Best Part has two requirements beyond simply landing the special move. Enhanced Teleport Down consumes one bar of Super Meter, and six Front Punch or Back Punch inputs must register during the attack.
NOTE: Start rapidly pressing the attack button as soon as Enhanced Teleport Down connects. Waiting for the later part of the animation leaves much less time to register all six presses.
I would use whichever punch button feels easier to mash consistently rather than alternating between the two. Either Front Punch or Back Punch satisfies the condition.
Early Lunch
Unlock Requirement: Fighter Mastery Rank 10
- PlayStation: ⬅️⬇️🅾️ + R2
- Xbox: ⬅️⬇️🅑 + RT
- Nintendo Switch: ⬅️⬇️🅐 + ZR
Final Hit: Enhanced Roll
Additional Condition: Hold Back Kick during the Final Hit. Requires at least one bar of Super Meter.
Mileena performs Enhanced Roll and impales the opponent through the feet with her sais. She then uses her Tarkatan tongue to drag them towards her before feeding on their face until little more than the skull remains.
Enhanced Roll is essential here. The standard Roll used for High Roller cannot trigger Early Lunch.
I would simply keep Back Kick held after entering the Enhanced Roll input. There is no advantage to releasing it and trying to press it again later in the animation.
High Roller
Unlock Requirement: Fighter Mastery Rank 15
- PlayStation: ⬅️⬇️🅾️
- Xbox: ⬅️⬇️🅑
- Nintendo Switch: ⬅️⬇️🅐
Final Hit: Roll
Input Distance: At least Jump Distance
Additional Condition: Hold Up during the Final Hit.
Mileena curls into her signature Roll and destroys the opponent’s legs as the attack connects.
High Roller can be surprisingly awkward because Roll travels forward while the Brutality simultaneously requires a minimum starting distance.
I would establish Jump Distance first, enter Back, Down + Back Kick and then move directly onto holding Up only.
NOTE: Do not continue holding Back Kick after entering Roll. Once the special move has started, release the attack button and hold Up. Keeping Back Kick held while also trying to satisfy the directional condition can make the Brutality unnecessarily difficult to trigger.
This is one of Mileena’s finishers where separating the move input from the activation condition makes a noticeable difference:
Roll → release Back Kick → hold Up
Seasonal Store Brutalities
Mileena received two additional Brutalities through the Seasonal Store. Up The Gut and Head Case are separate from Fighter Mastery progression and remain usable once acquired.
Up The Gut
Unlock Requirement: Seasonal Store
- PlayStation: ⬇️➡️🔺
- Xbox: ⬇️➡️🅨
- Nintendo Switch: ⬇️➡️🅧
Final Hit: Teleport Up
Additional Condition: Hold Up during the Final Hit.
Up The Gut uses Mileena’s Teleport Up as the finishing move and converts its rising strike into the Brutality.
The execution is straightforward because there are no meter or distance requirements. Perform Down, Forward + Back Punch and begin holding Up once the special move has started.
I would avoid introducing Up before finishing the Teleport input itself. Complete the special first, then transition onto the held direction.
Head Case
Unlock Requirement: Seasonal Store
- PlayStation: ➡️ + 🅧, 🅾️, 🅧
- Xbox: ➡️ + 🅐, 🅑, 🅐
- Nintendo Switch: ➡️ + 🅑, 🅐, 🅑
Final Hit: Can’t Fight It
Additional Condition: Hold Back during the Final Hit.
Head Case uses Mileena’s three-hit Can’t Fight It Kombo.
Do not begin holding Back before the Kombo starts because the opening attack uses Forward + Front Kick. Adding the opposite direction too early can interfere with the initial command.
I would enter it as:
Forward + Front Kick → Back Kick → hold Back → Front Kick
That preserves the opening directional attack while applying the Brutality condition before Can’t Fight It reaches its Final Hit.
Mileena Fatalities, Animality, and Brutalities Video Guide

The Mileena showcase contains most of her complete current finisher collection in one video, including The Klassic, all seven character-specific Brutalities, Appetizer, Killopractic Adjustment and the three universal Seasonal Fatalities.
The video is particularly useful for comparing the normal Roll and Enhanced Roll finishers, seeing how quickly the attack inputs begin during The Best Part, and viewing the two Seasonal Store Brutalities alongside Mileena’s Fighter Mastery collection.
In Mortal Kombat 1’s New Era, Mileena’s closest relationships centre on her twin sister Kitana, her partner and Umgadi protector Tanya, and her mother Sindel. You can explore our Kitana, Tanya and Sindel finisher guides for their Fatalities, Animalities, and Brutalities.
For the complete playable roster in one place, see our Mortal Kombat 1 Finisher Guide, which brings together every character guide covering Fatalities, Animalities and Brutalities.